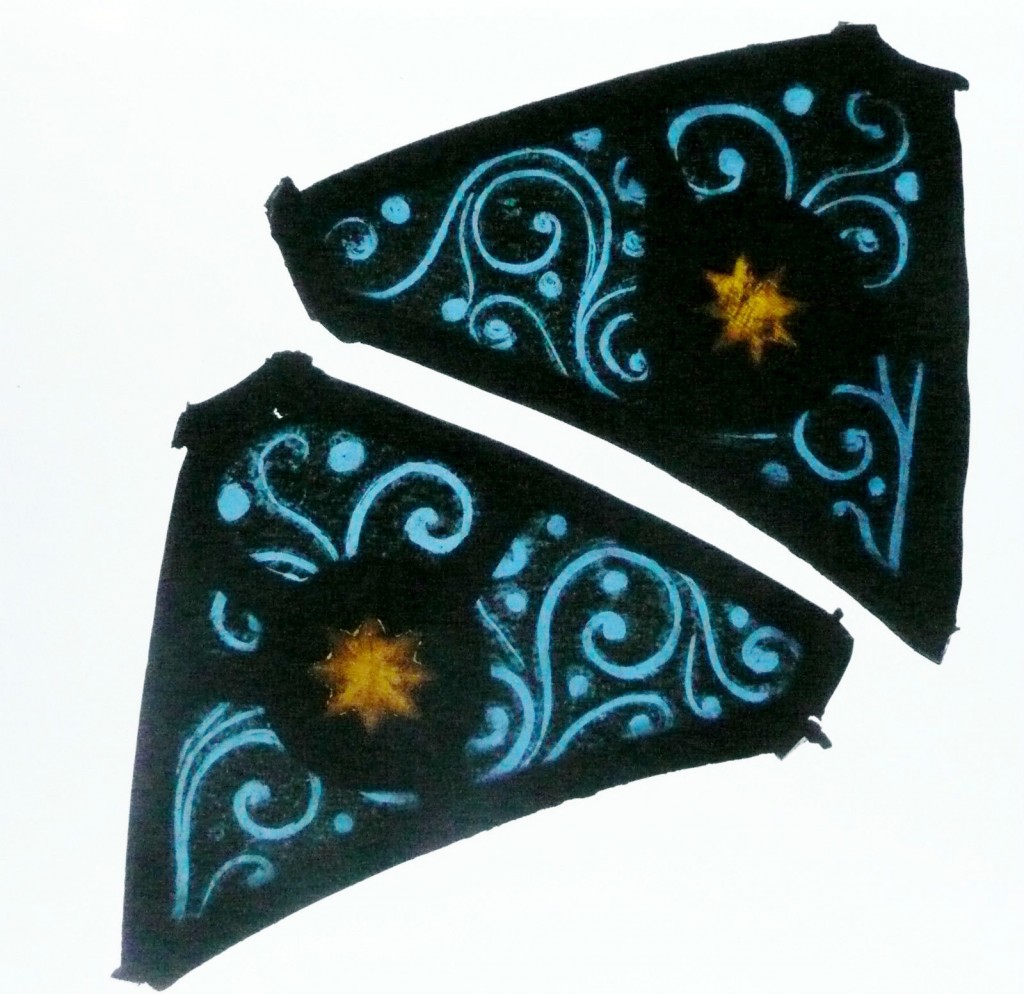
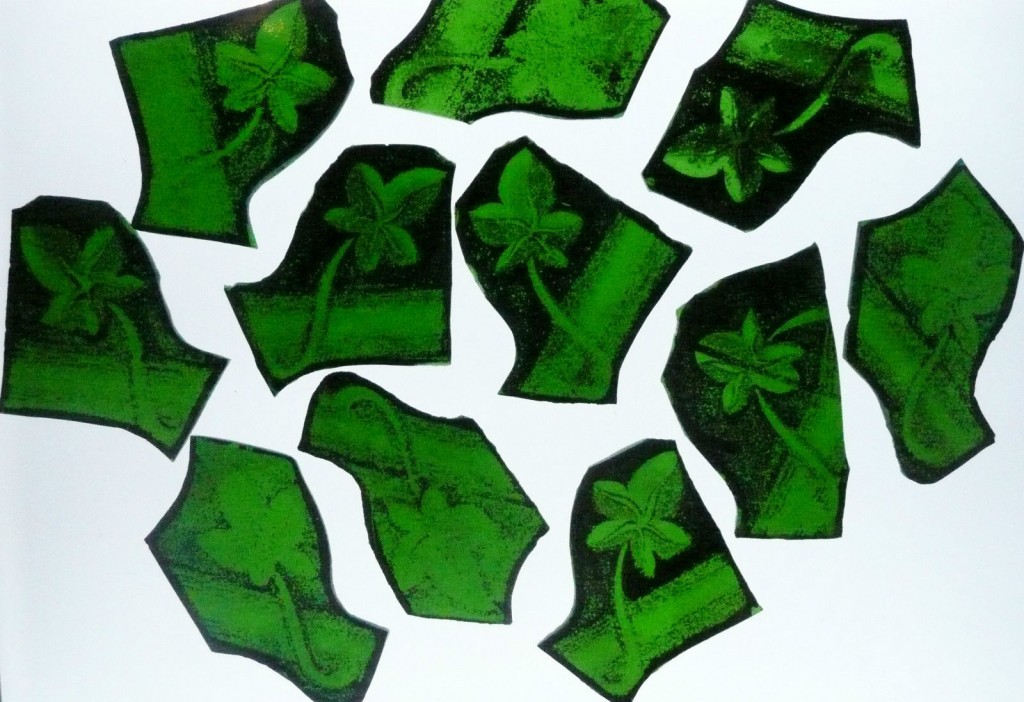
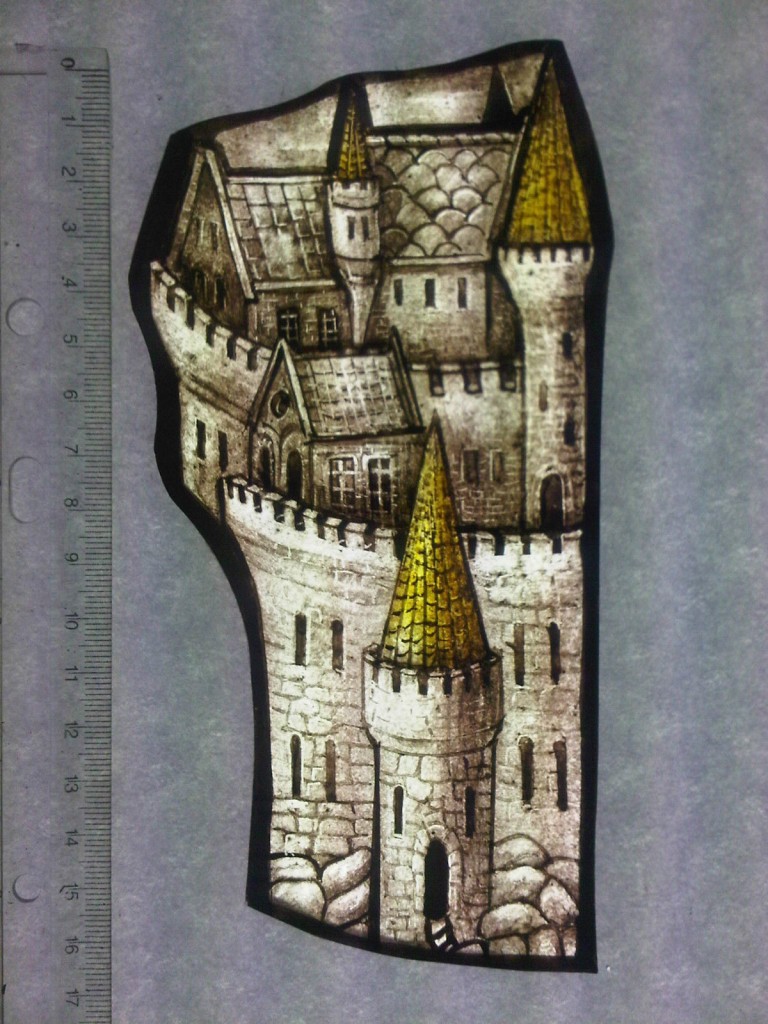
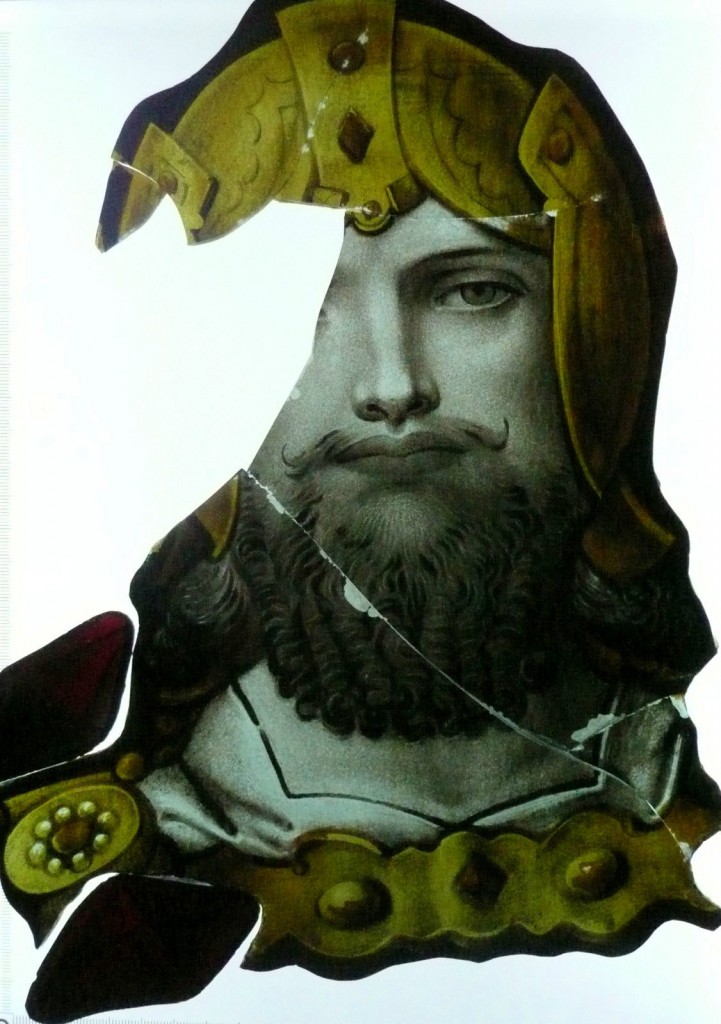
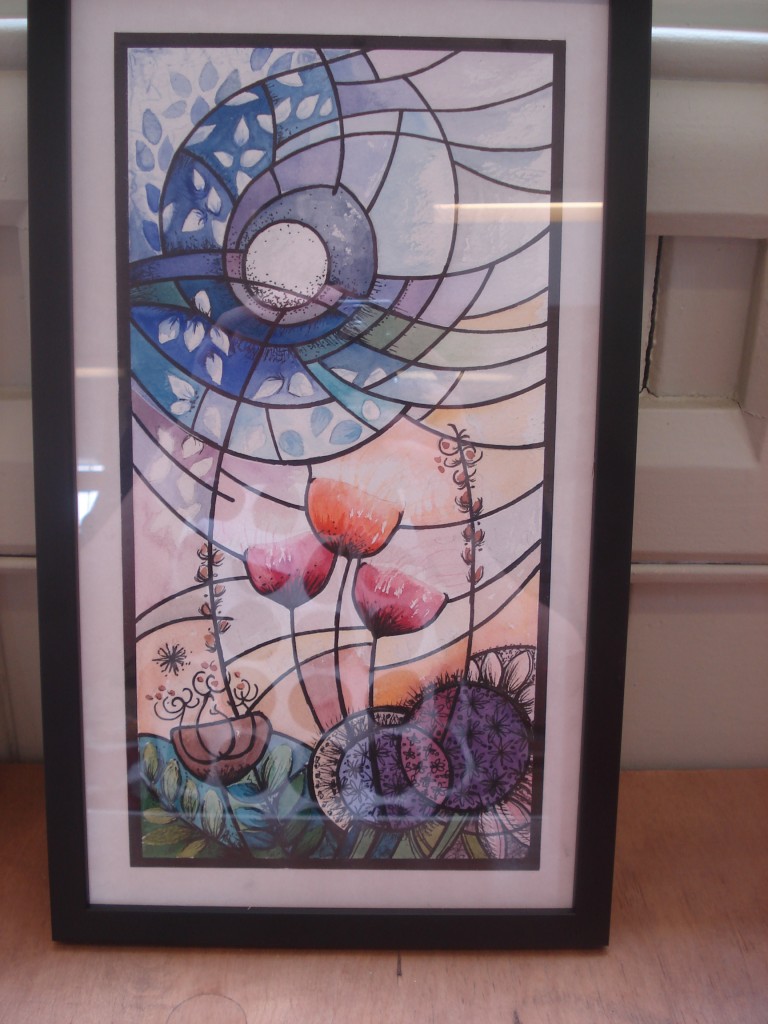
If you are a regular reader of this blog you may remember a few weeks ago I took a day off work and went to see Tamsin Abbott talk about her painted glass. Well this weekend it was my turn to give glass painting a go with glass artist Nicola Kantorowicz at the wonderful Ardington School of Crafts. Before I went I gathered a few pieces of inspiration, all these were actually glass fragments for sale on ebay. I bid on all of them but alas missed out, still all the more reason to use the inspiration to create something new and original!
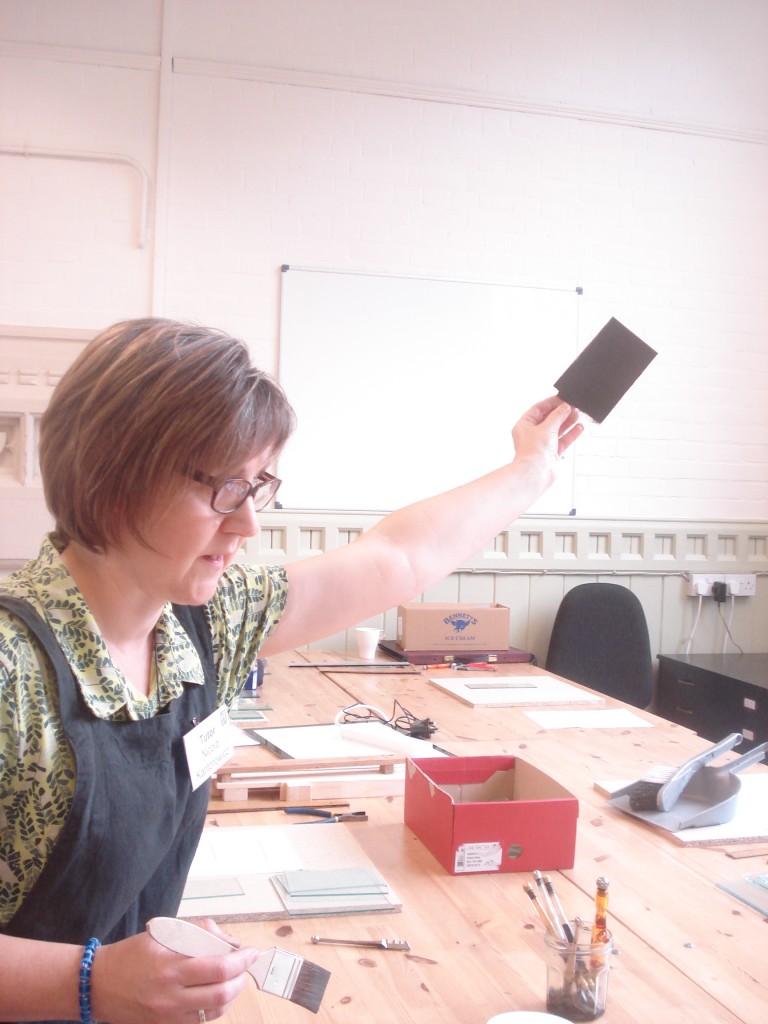
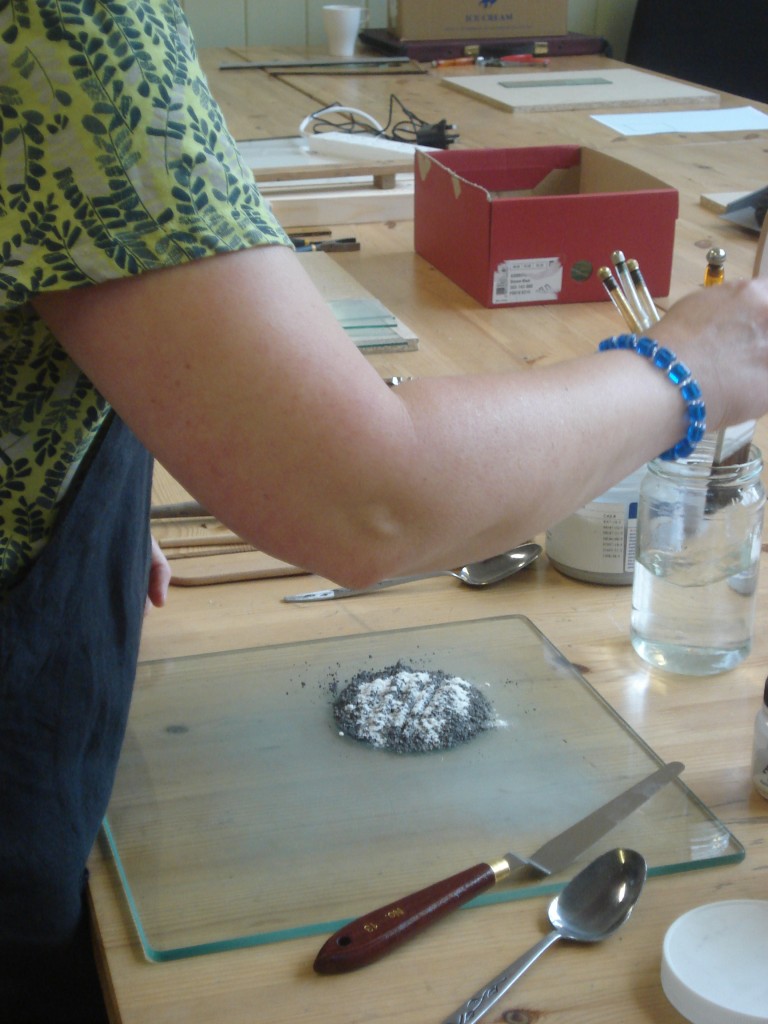
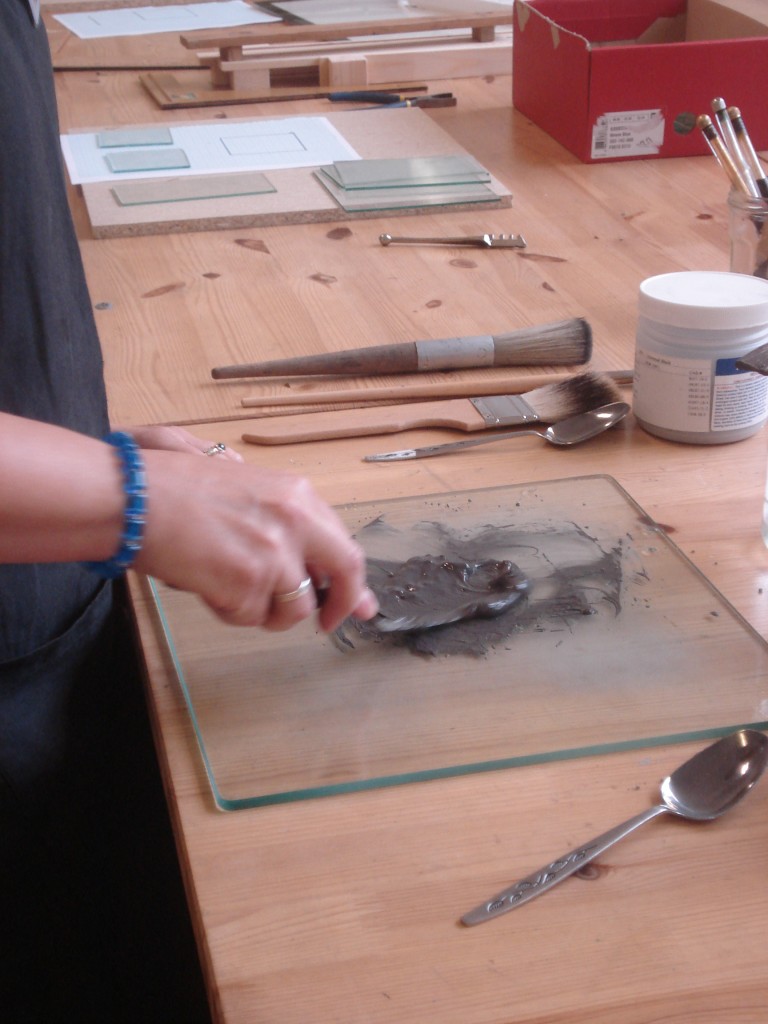
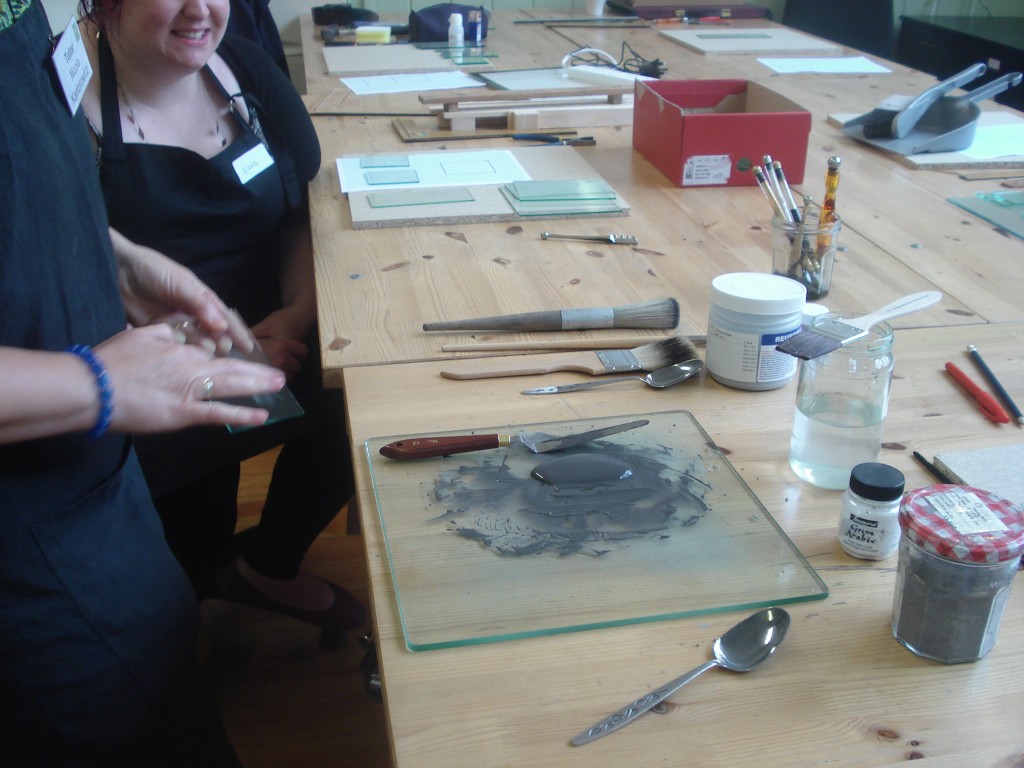
First of all Nicola showed us how to mix the paint, gum Arabic is added to ensure the paint sticks to the glass until it is fired when it becomes permanent. When mixing its important to get the right consistency (like pouring cream) and ensure that all the grains of paint are mixed out so it goes on smoothly.
The white stuff is the gum Arabic and in the jam jar is water. Then the mixing starts:
Until finally the desired consistency is achieved.
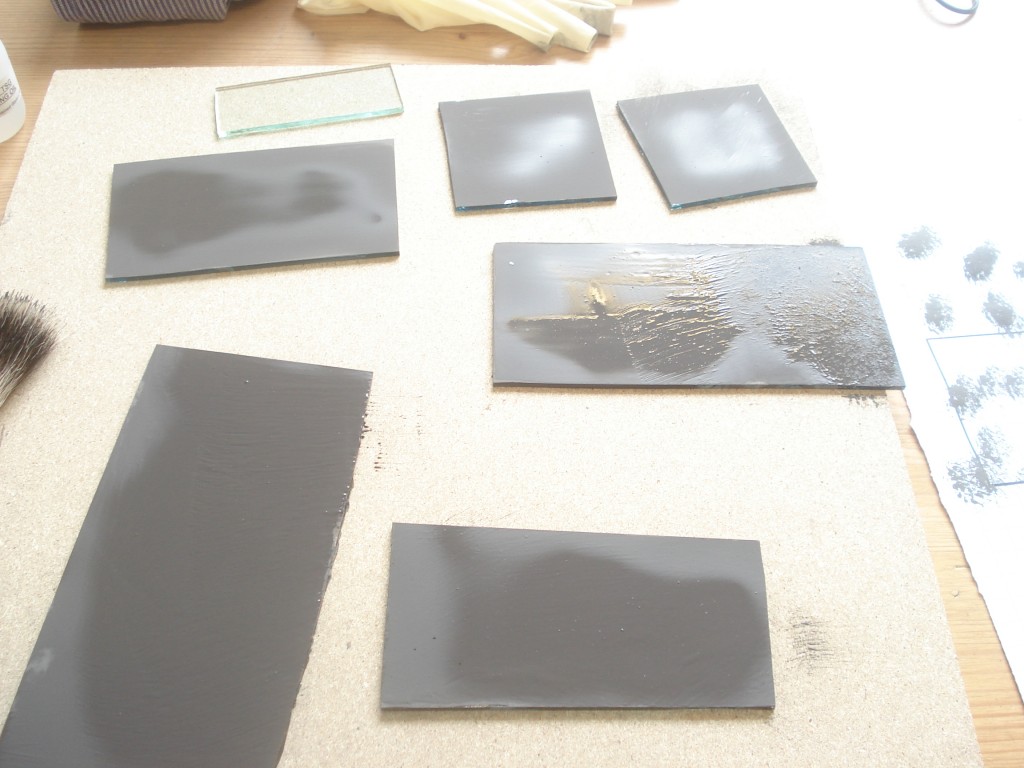
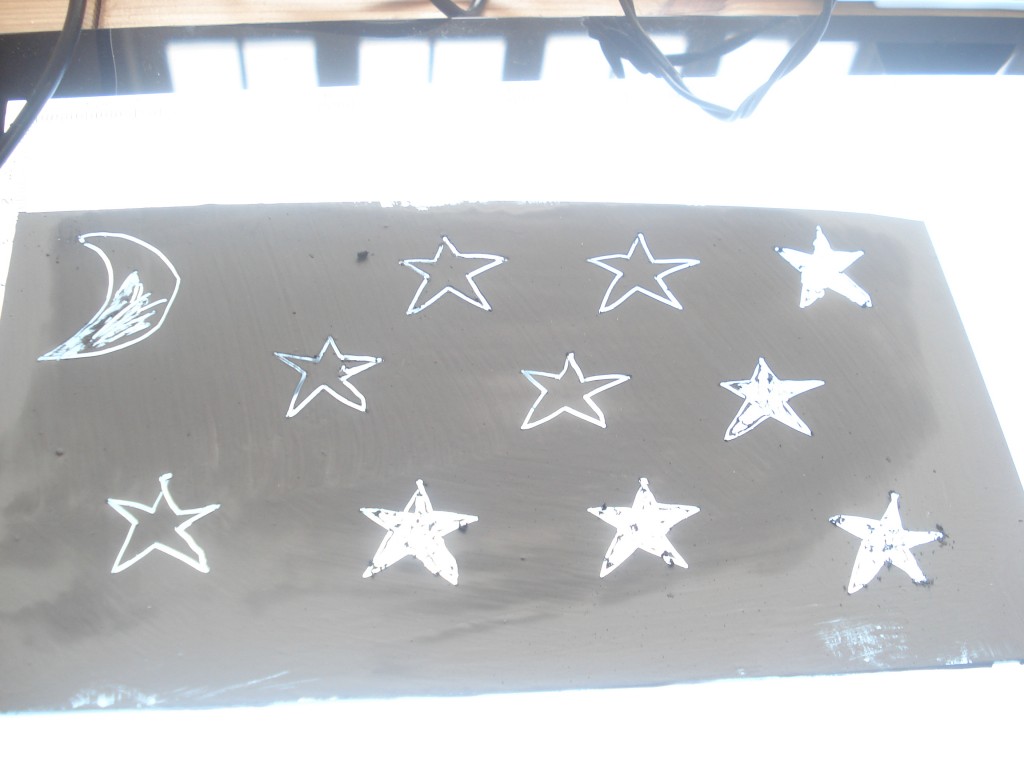
Once we had our paint we applied it to a few clear pieces of glass to experiment with some test designs:
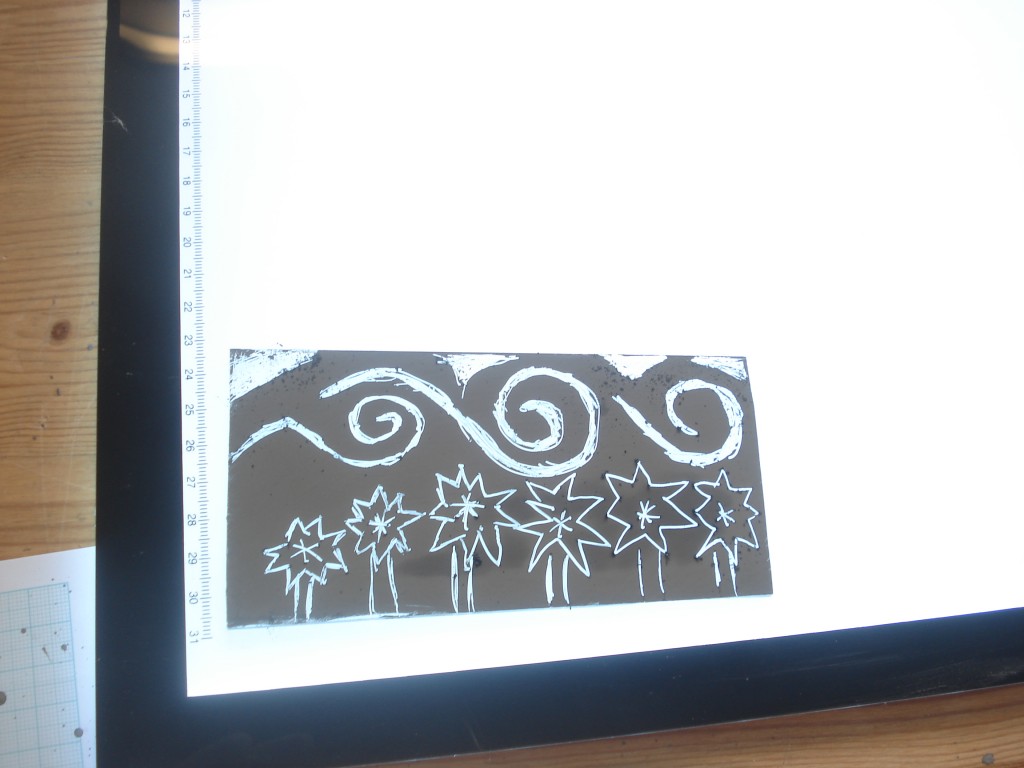
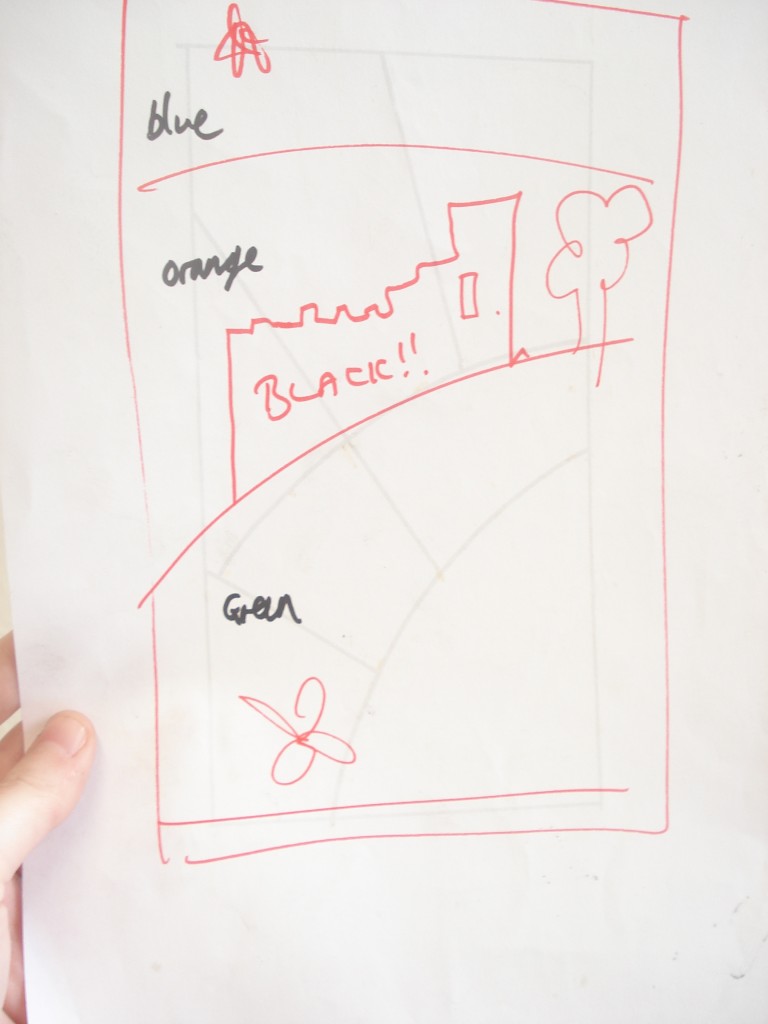
The really cool thing about the glass paint at this point is that it isn’t permanent, if any of our designs went wrong it was possible to wash the paint off, repaint the glass and draw in a new design (the tools we used for making the designs were cocktail sticks and wooden skewers). Experimenting over it was time to turn our attention to possible designs. I knew I wanted The Castle to feature in mine, but I didn’t want it to be as detailed as the fragment I had seen as we only had an afternoon to finish all the panels so they could be fired overnight. As the glass paint was so dark I thought the outline of a castle would work well as if the sun was going down behind it and the stars were starting to appear. The basic design I settled on was this:
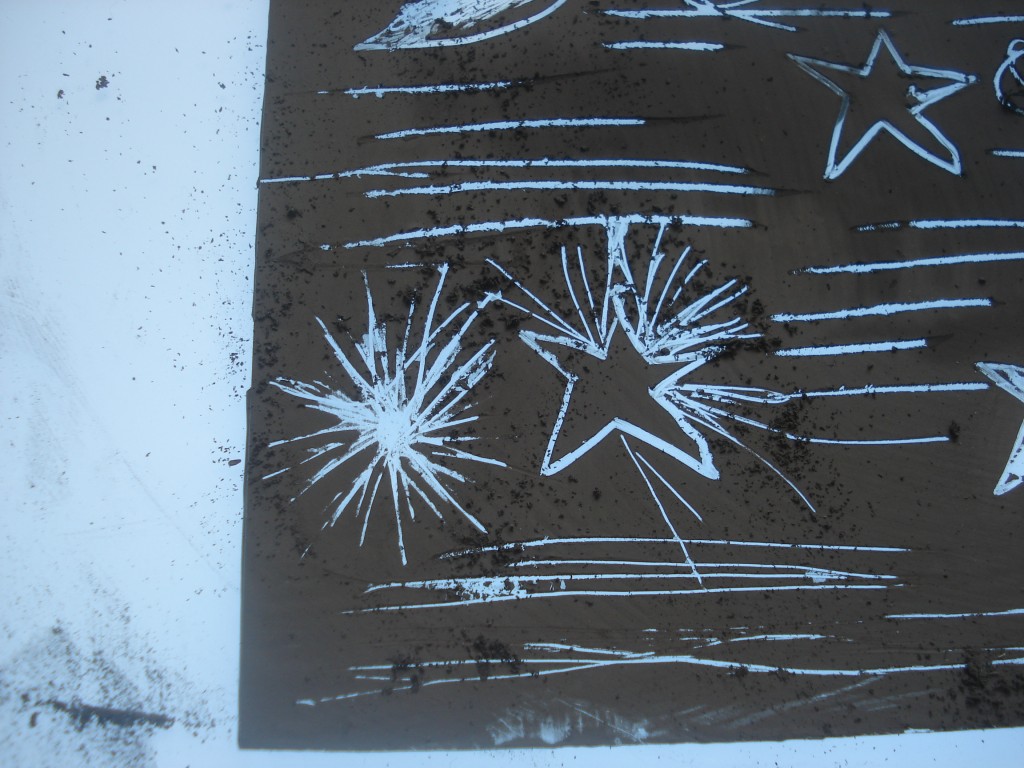
I wanted my stars to be slightly more abstract than in the test piece I’d done so did a bit more experimenting and finally adapted the design to the one on the left:
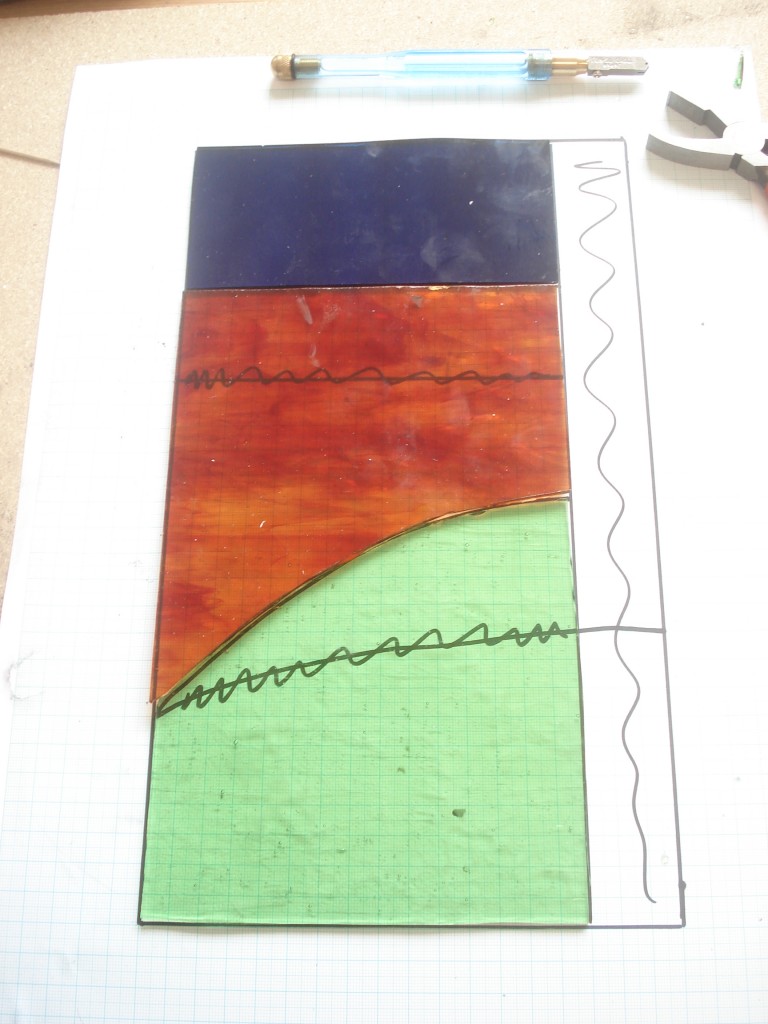
Then it was onto choosing the glass. I wanted the castle to be the main focus so chose the most dramatic glass for that which meant that the glass at the top and bottom also had to be quite a strong colour to ensure the panel as a whole worked.
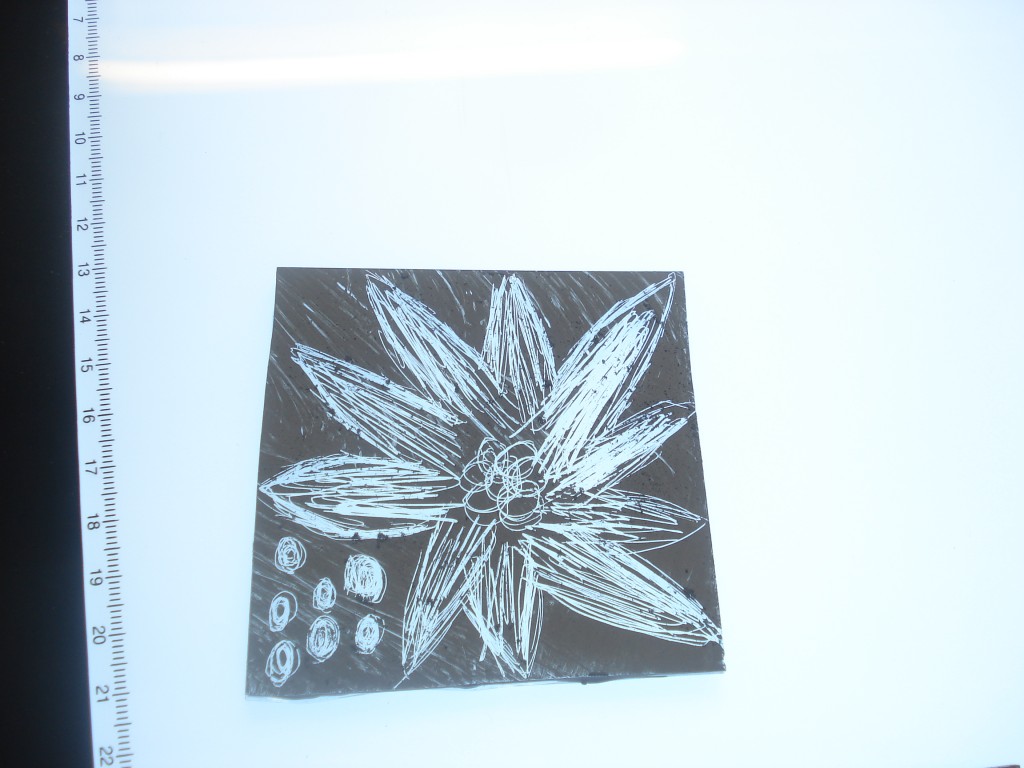
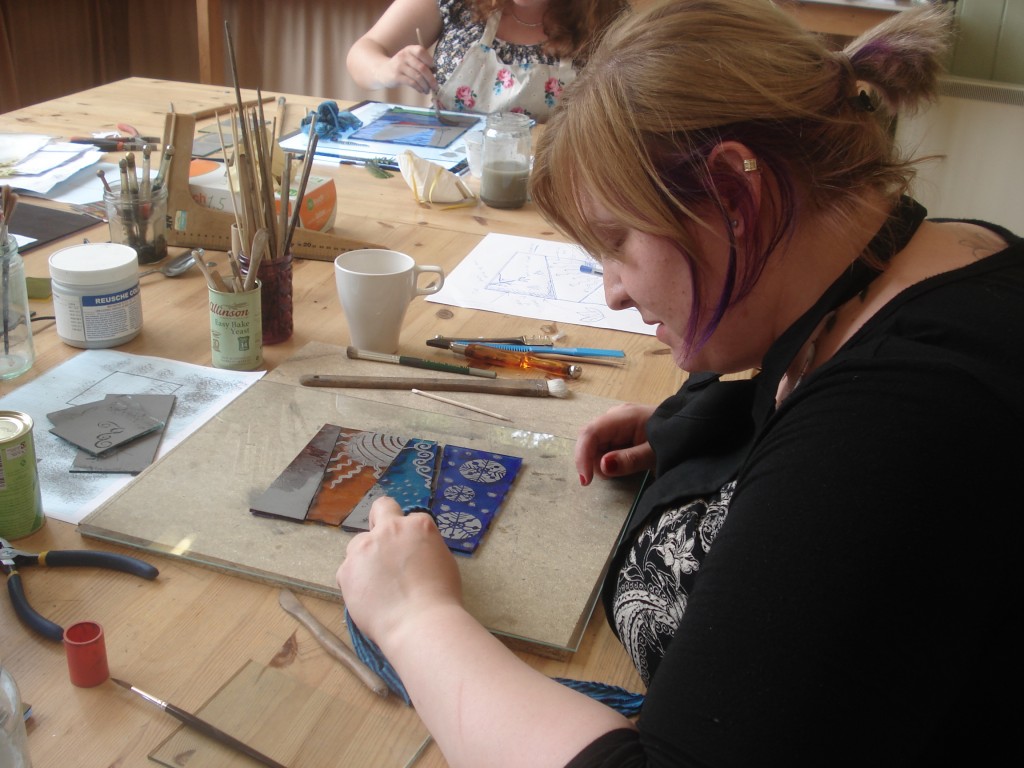
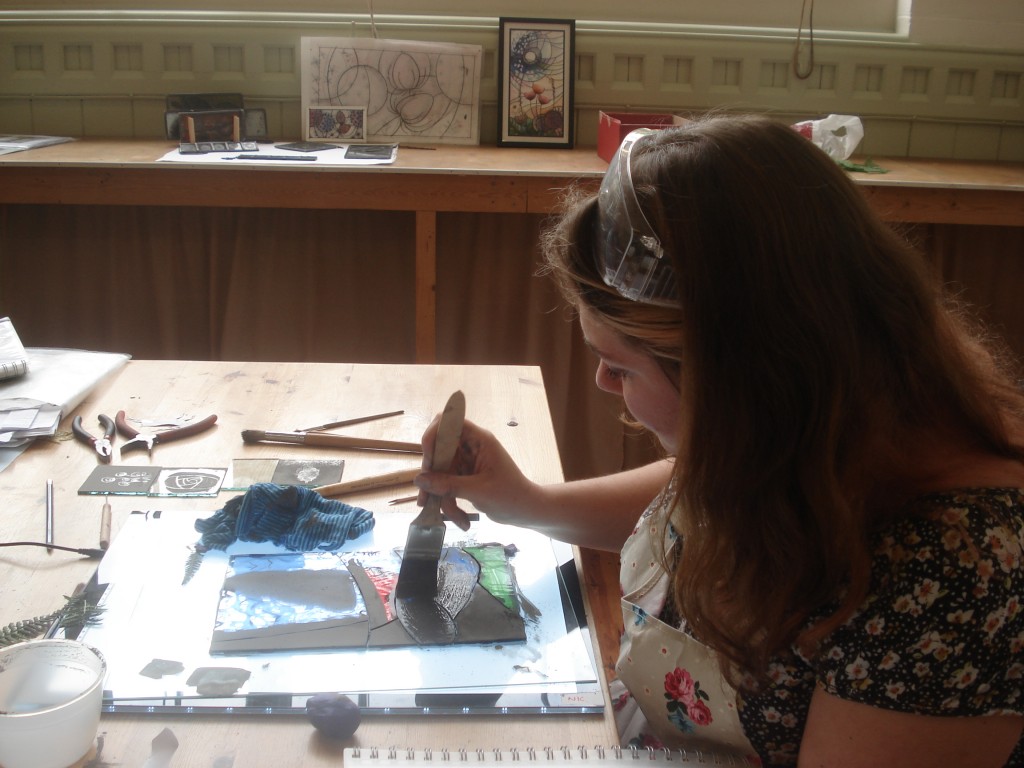
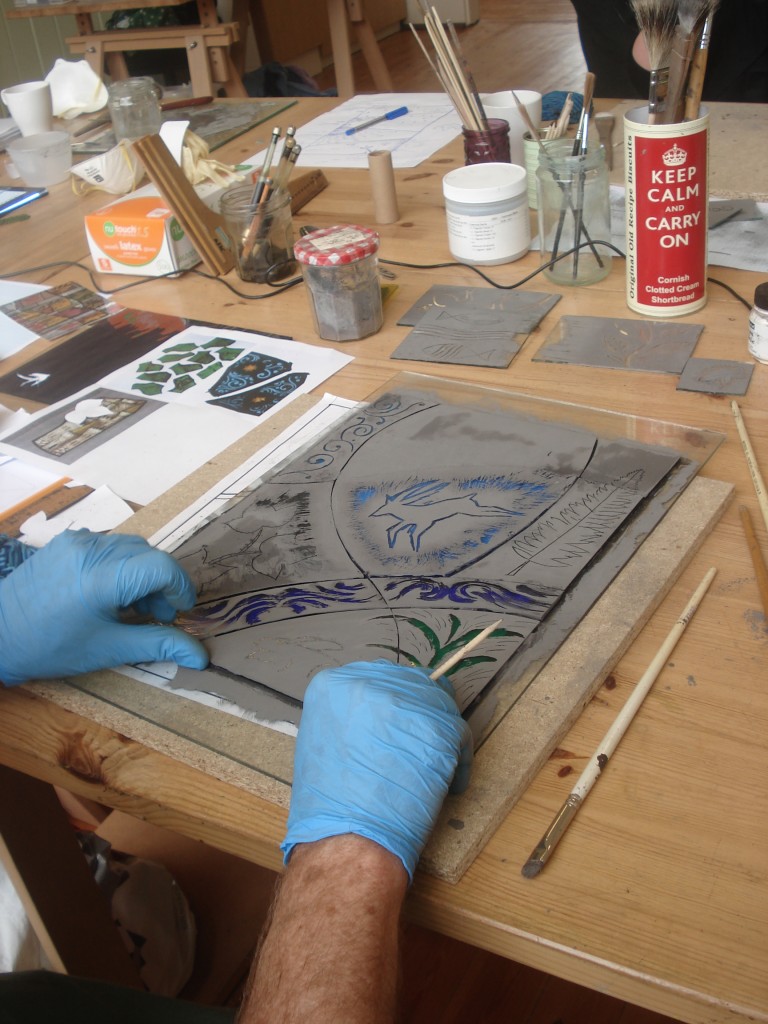
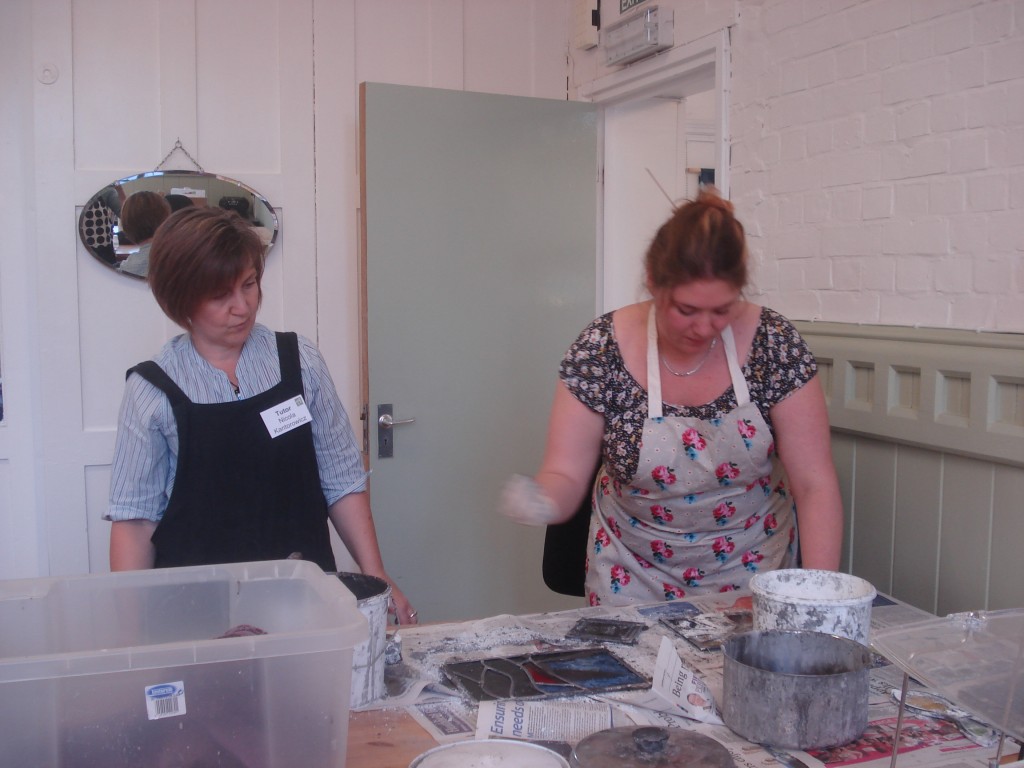
Once the shapes were cut it was onto the painting, I had a fairly clear idea of what I wanted for the top two pieces but all I could think about for the bottom was I wanted entwined foliage. I decided planning it out possibly wasn’t going to work so just started drawing straight into the paint. I didn’t manage to capture myself painting but here are a few snaps of my fellow students:
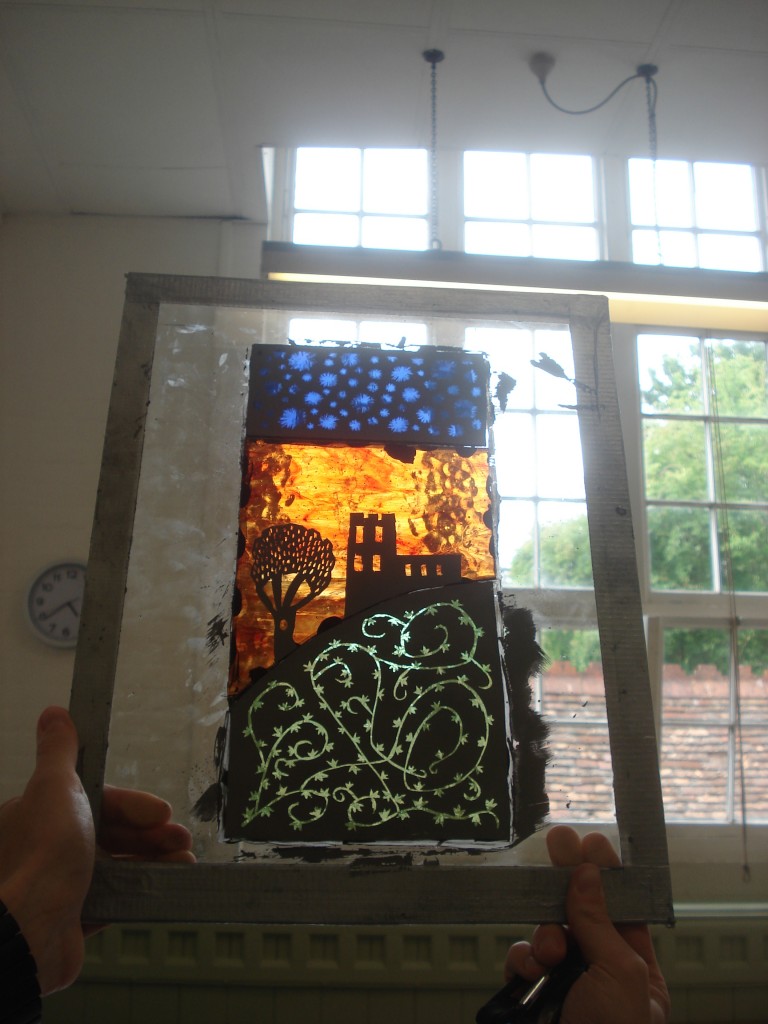
That night we left our glass at Ardington for Nicola to take home and fire in her kiln and the next morning I was able to get a sense of what my finished piece would look like (Nicola introduced us to the idea of using a blank piece of glass as an easel and to stick our glass pieces to using play do!).
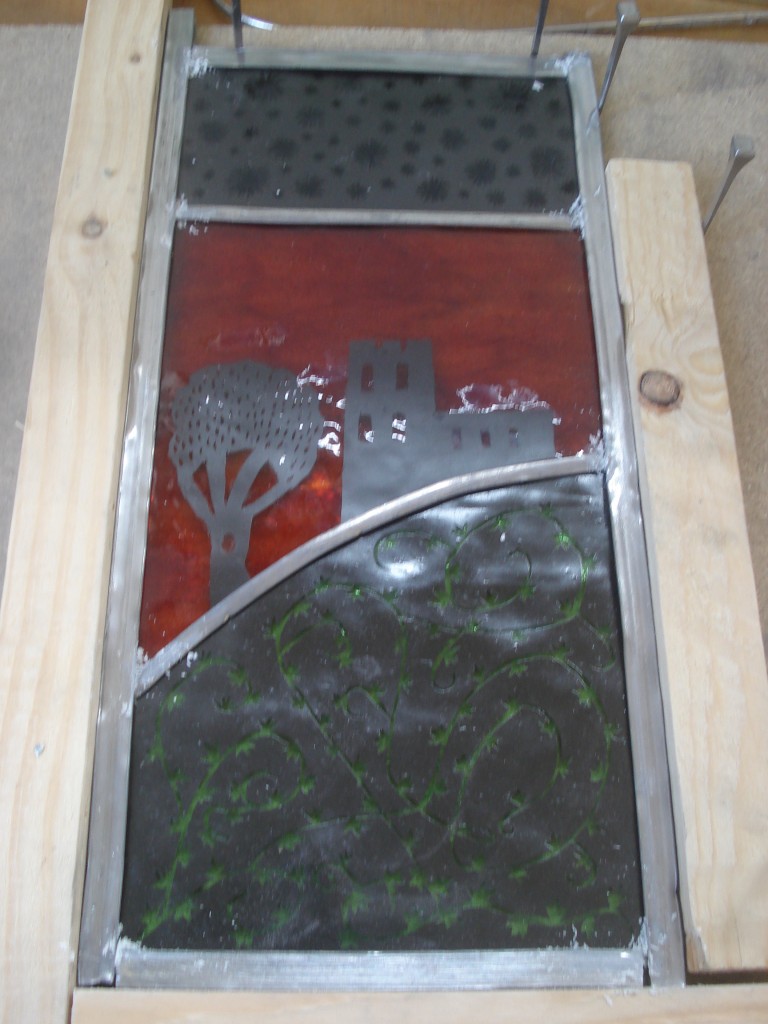
Pretty cool huh? Then it was onto the leading (pretty easy for me as I only had 3 pieces and most were straight, I wanted to finish my first panel early as Nicola had very kindly agreed to fire any other pieces that we finished that afternoon).
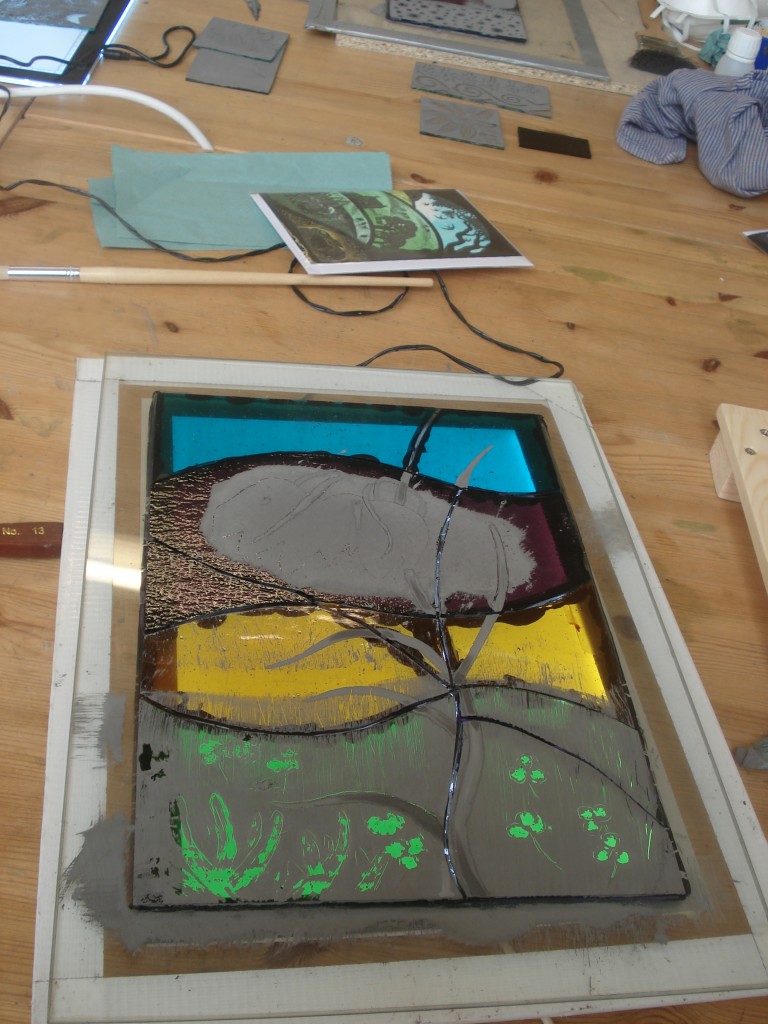
Then all that was left was to cement:
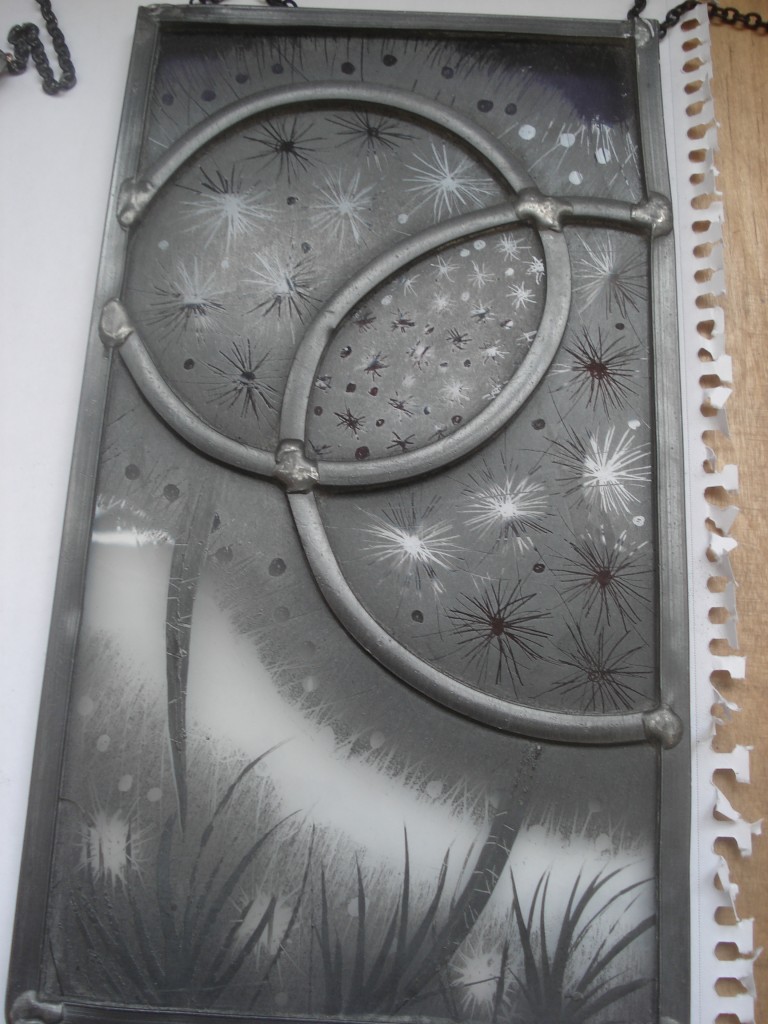
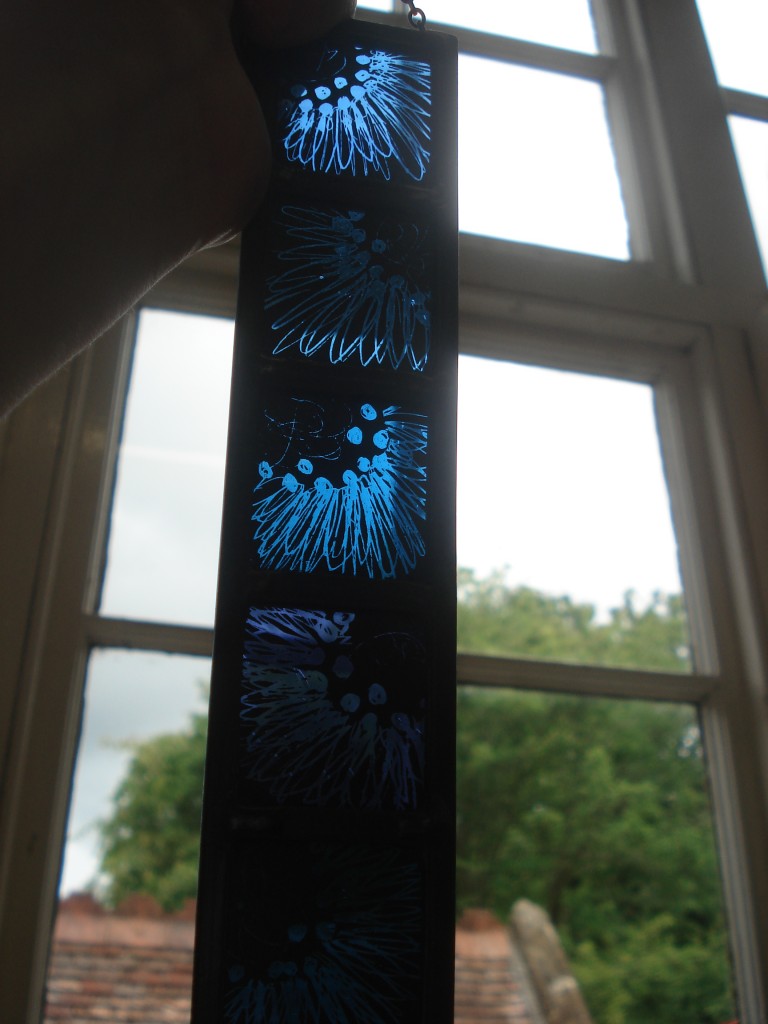
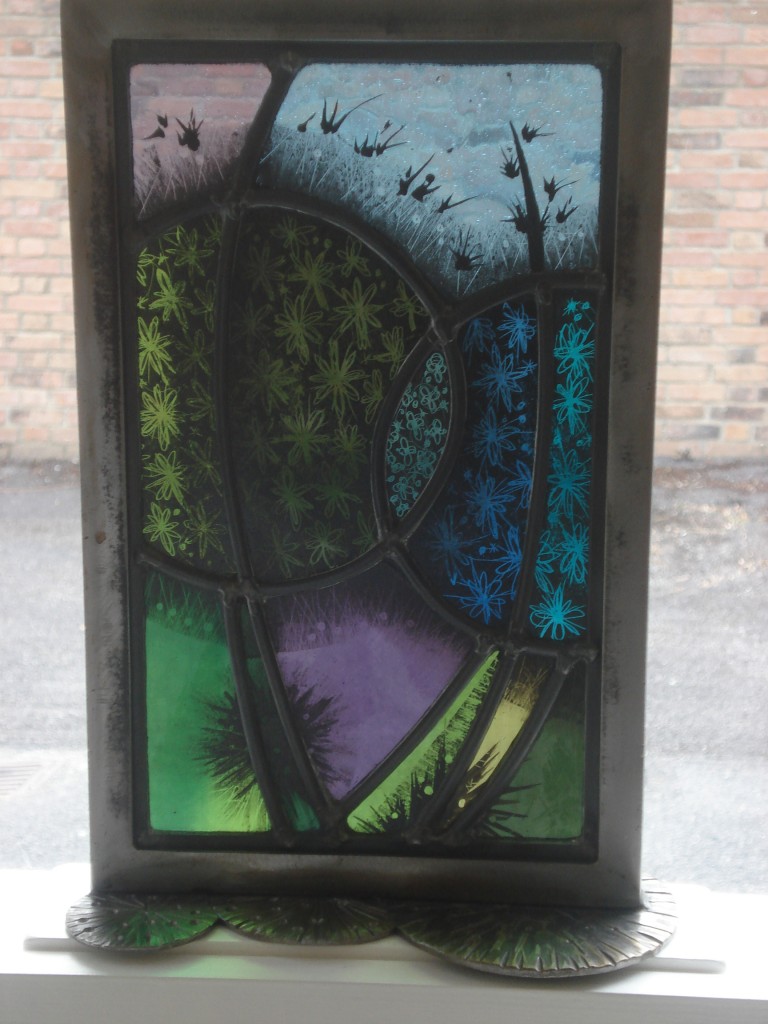
I did quite a few other pieces (but sadly because I was so busy painting I forgot to take pics, will add them to the bottom of this post once I get them back) but I must show you some of Nicola’s amazing work (she does a lot of seed heads and flowers and by using different small decorations and textures gets the most amazing results, I think I’ve got a way to go to be even half as good):
The design for a panel:
Thanks as ever to Ardington for being an amazing art school and Nicola for being such an inspiring (and patient) teacher.
