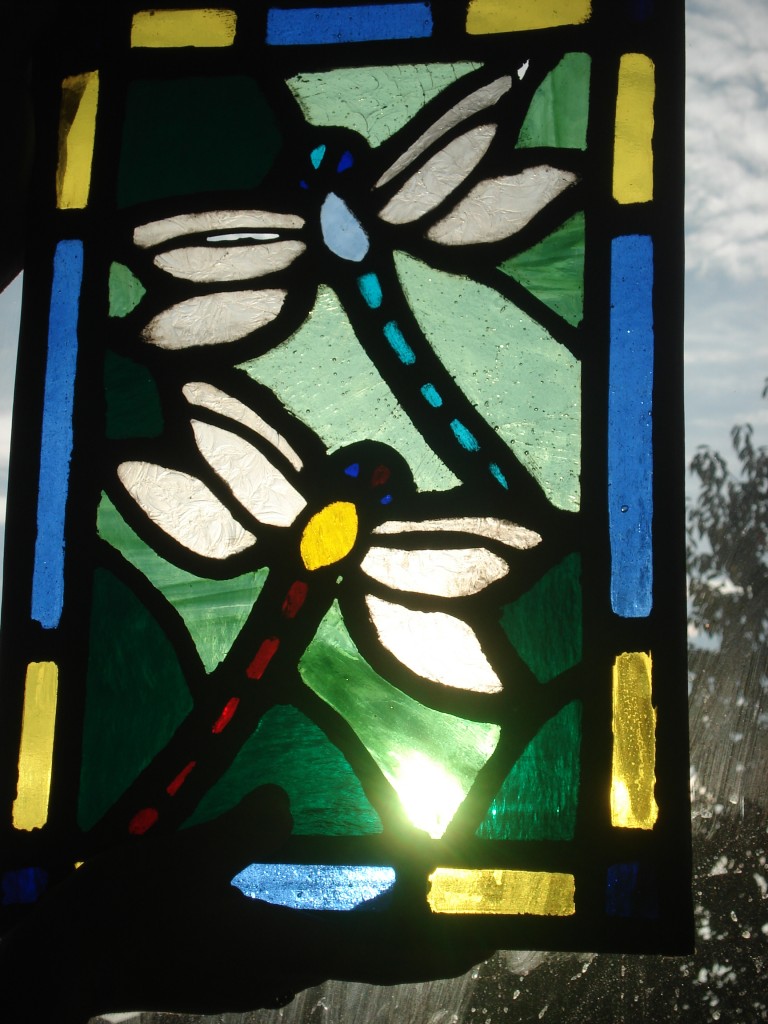
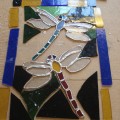
You may remember a couple of weeks ago I headed to Ardington School of arts and crafts to complete a stained glass panel. The actual panel as seen below used copper foil for the dragonflies and then set them into the leading/a traditional stained glass leaded frame to complete the piece.
While I was really pleased with how the panel turned out I couldn’t help thinking the dragonflies had lost some of their delicate quality they had had when just copper foiled after I leaded them. I’ve got a simple dragonfly suncatcher in our front room which was a gift from a friend and having not come to a decision on a design for a stained glass panel having a bit of a play with copper foil seemed like a good exercise. The course itself was held over the weekend at our local primary school and once again teaching was carried out by the fantastic Sarah Glover.
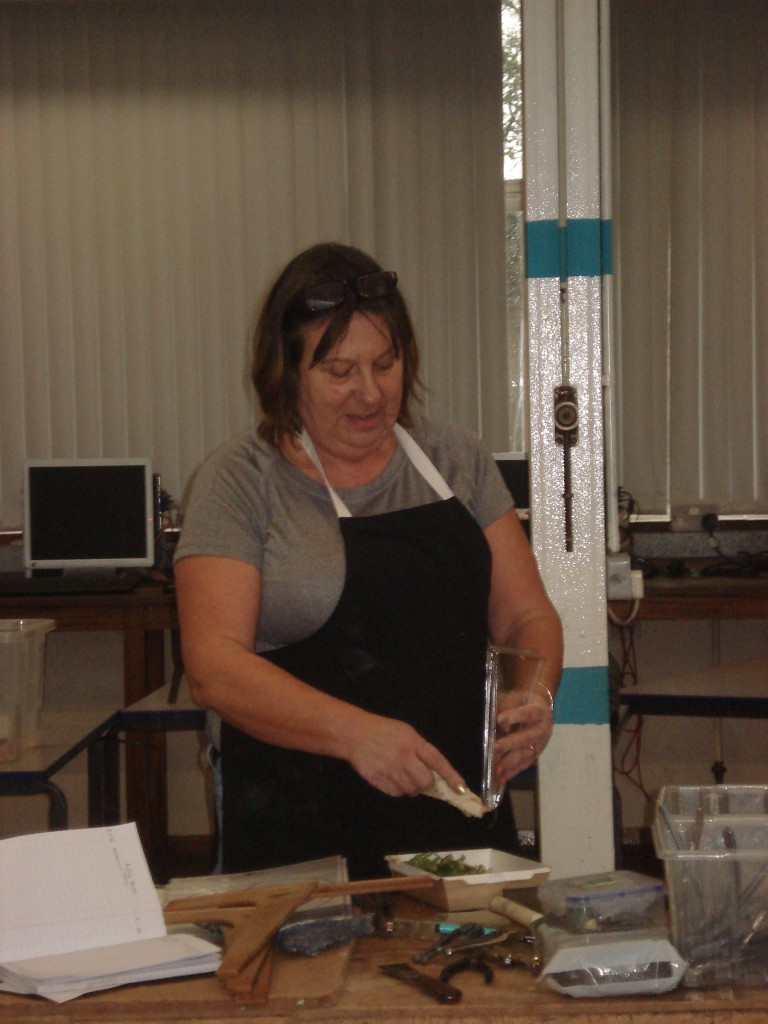
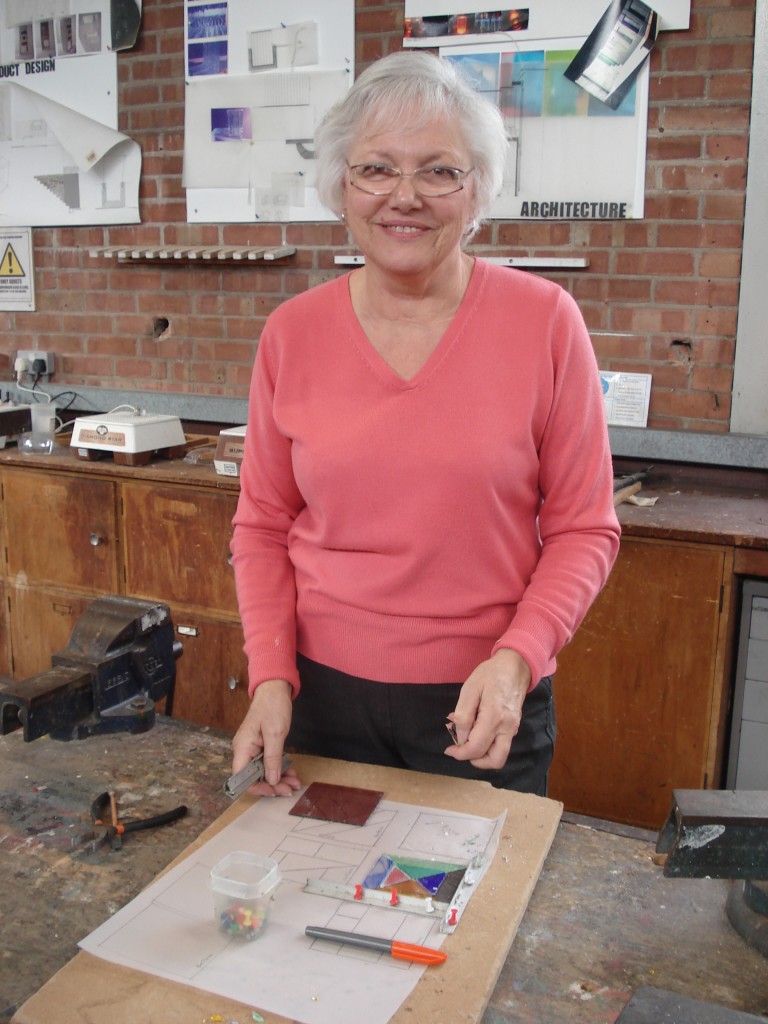
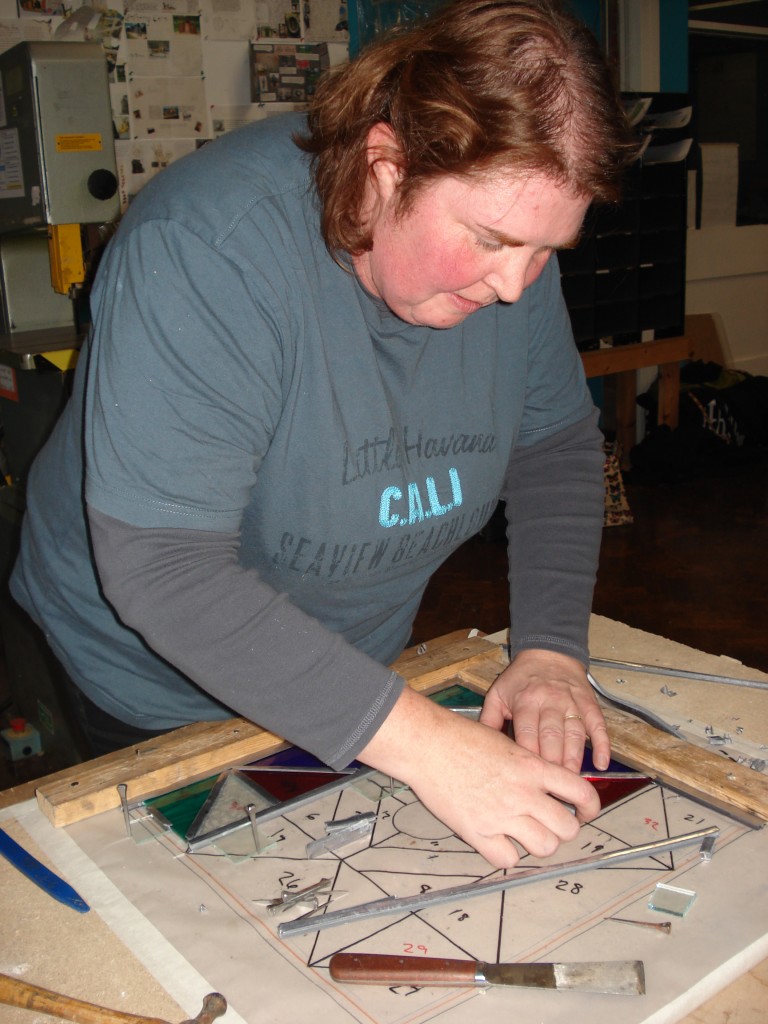
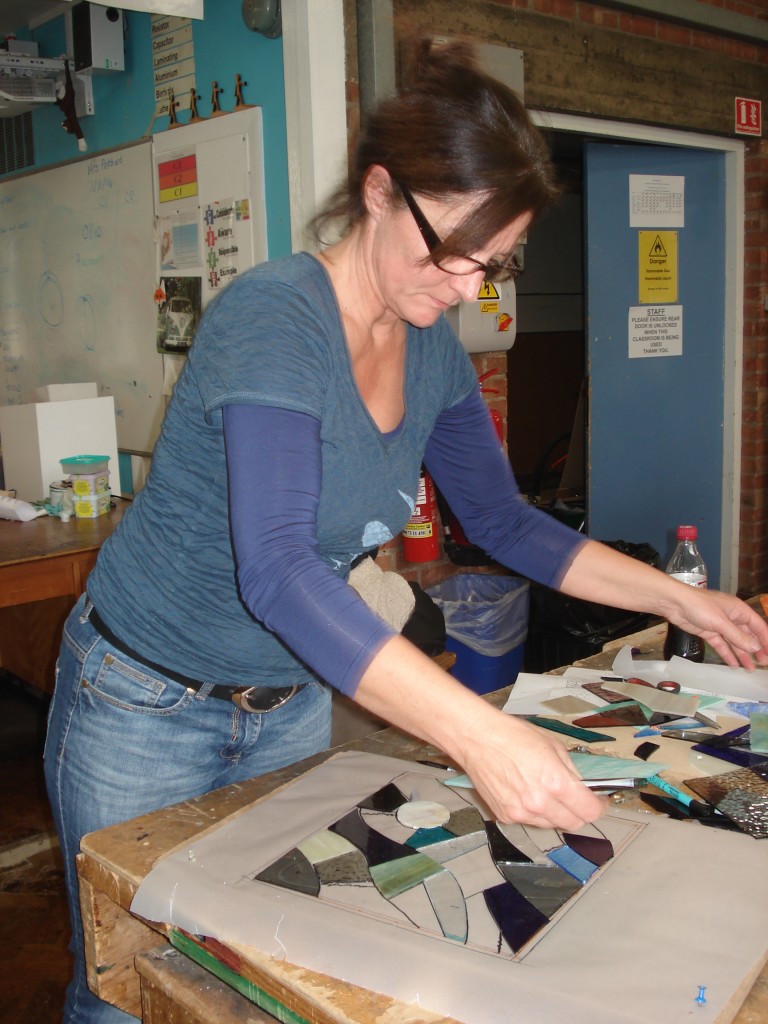
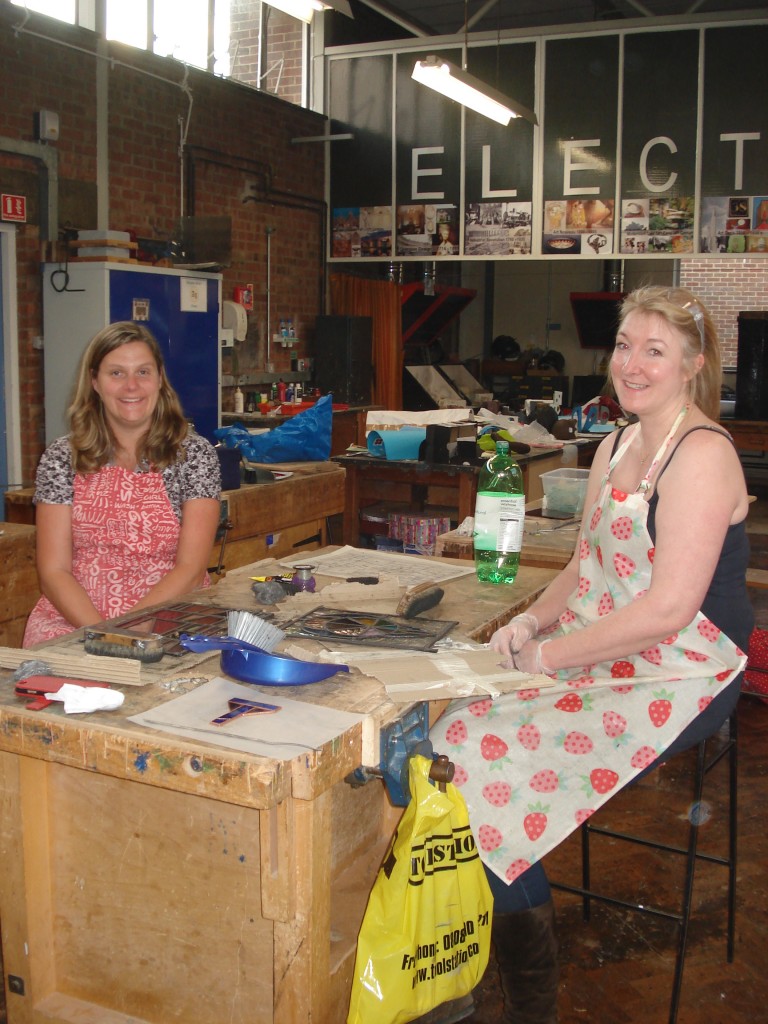
There were 10 students in the class and we were all ladies, most of the others had decided to do leaded panels apart from Sherry (who I know from wood school and who was also working with copper foil, but in her case doing a box).
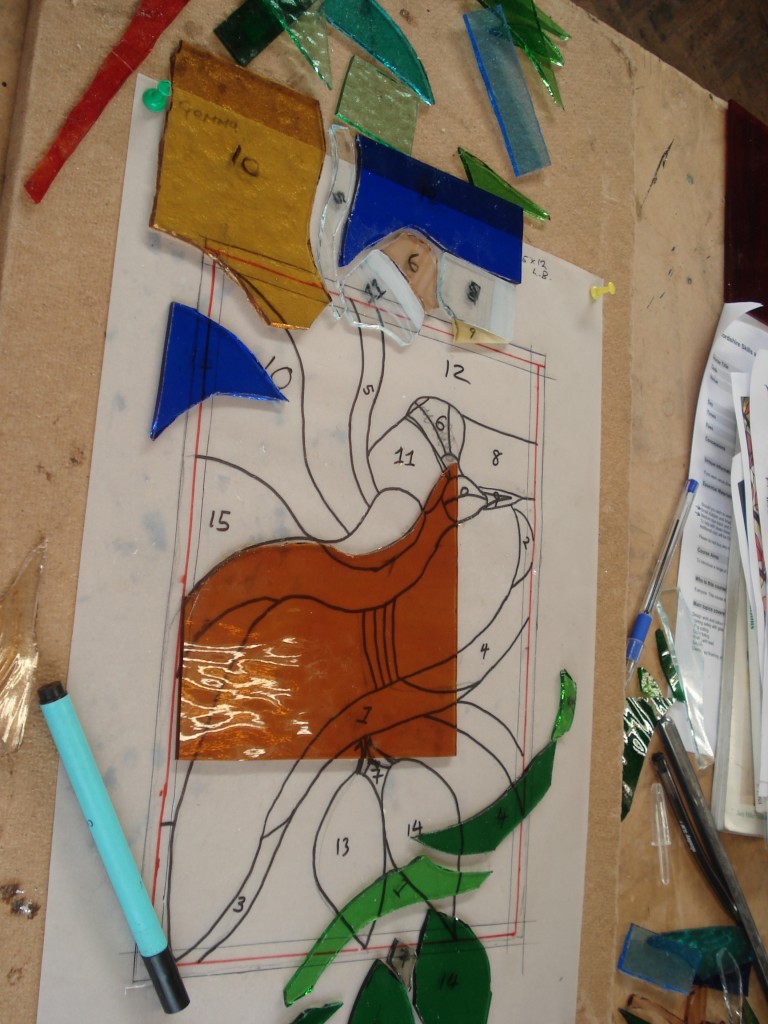
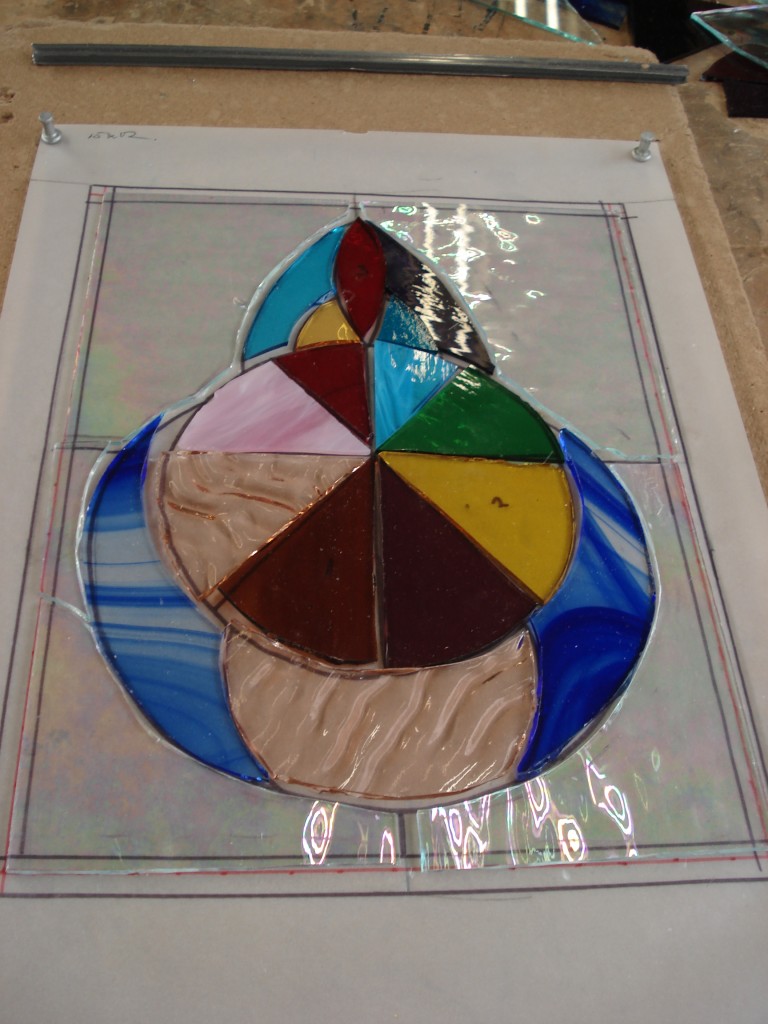
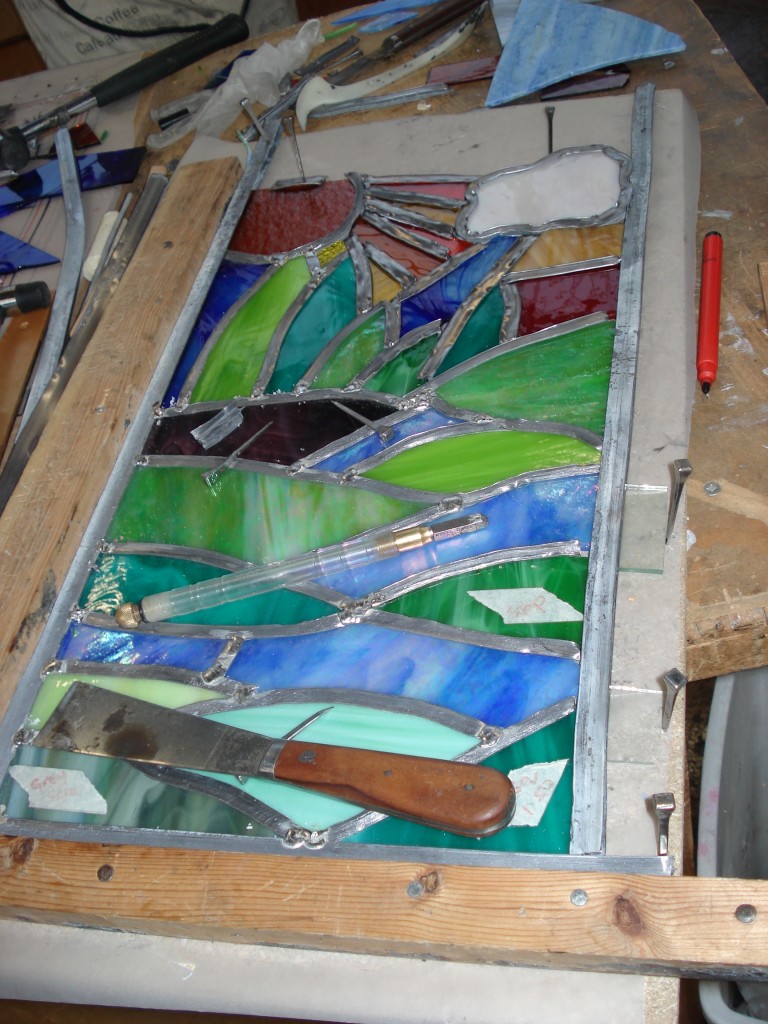
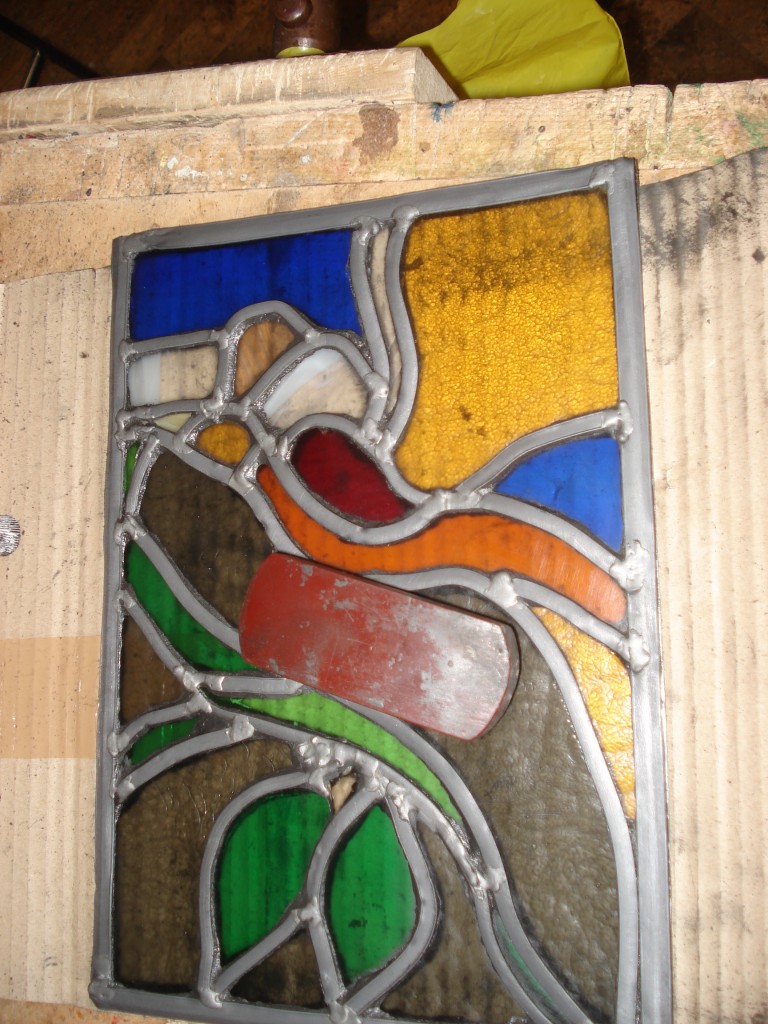
The designs ranged from classical:
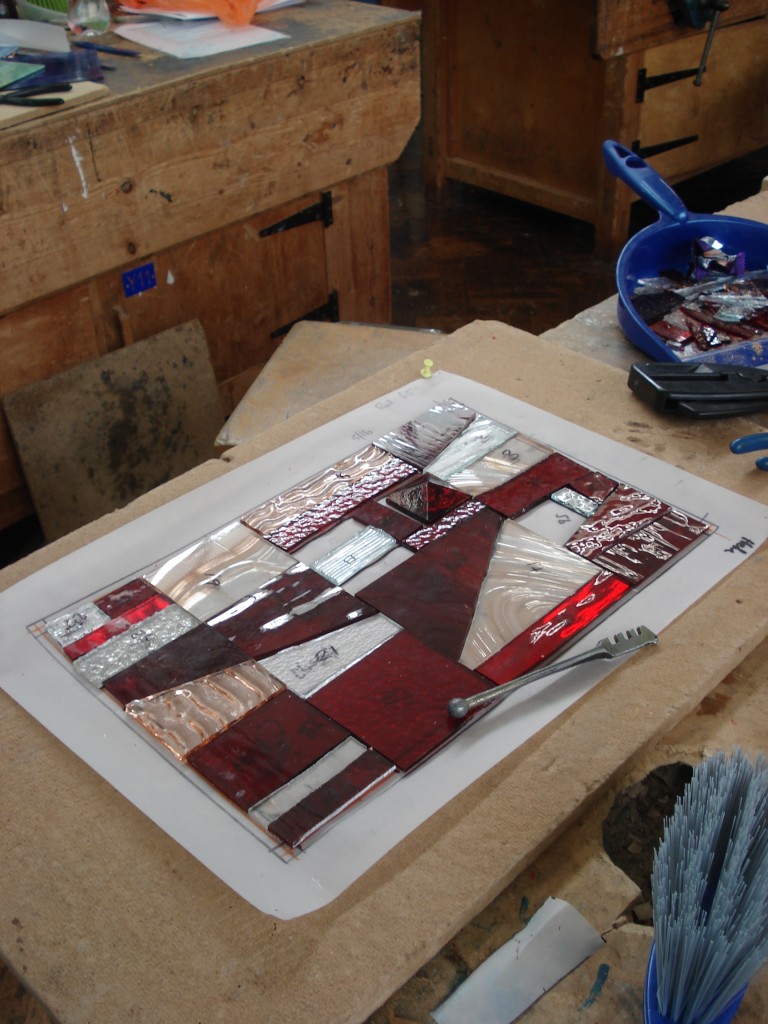
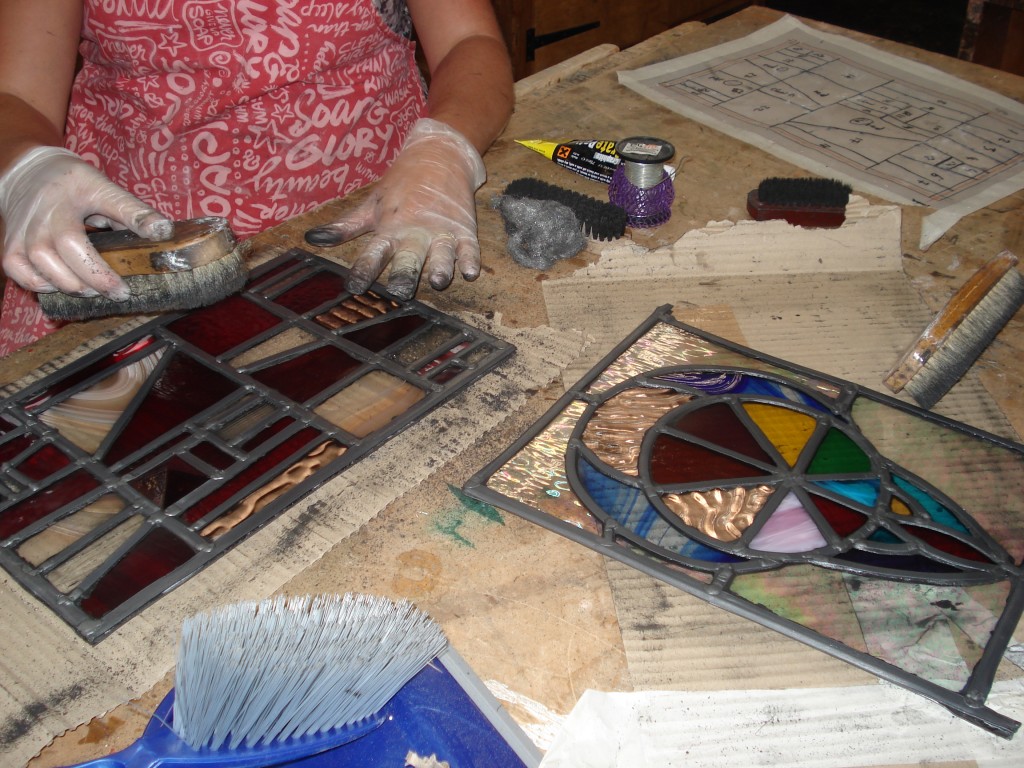
To very modern:
This final piece of abstract glass in the above photos was based on a picture done by the students daughter. There were also some pieces that had traditional designs with quite modern/bold glass choices (I thought this one was especially lovely):
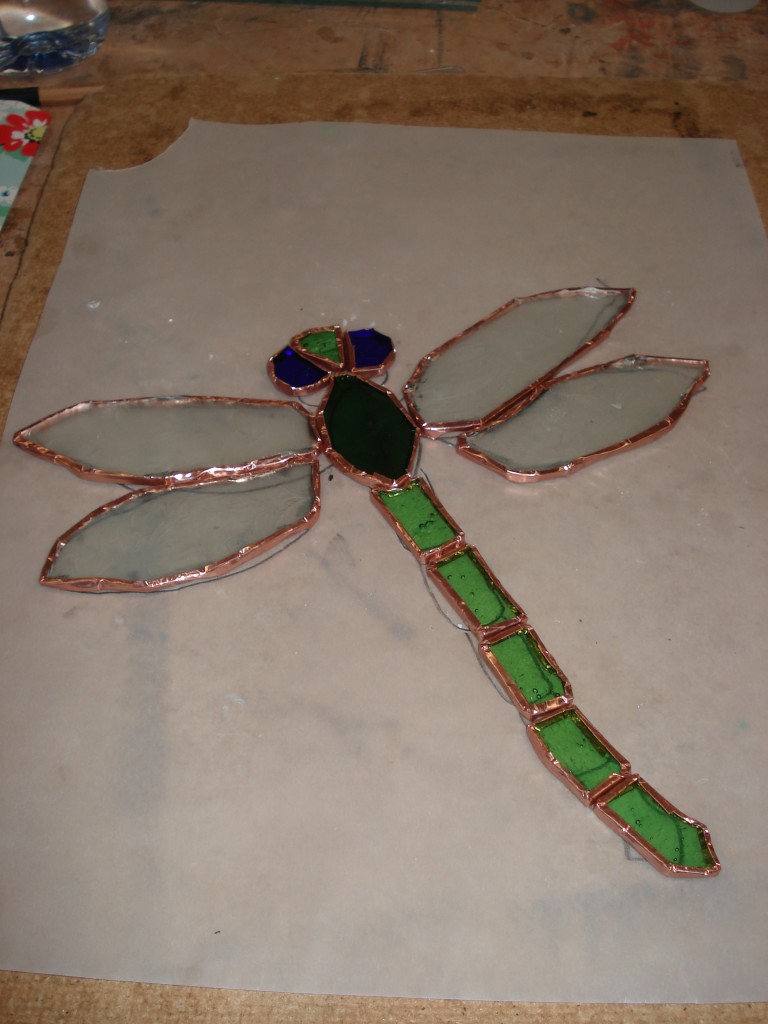
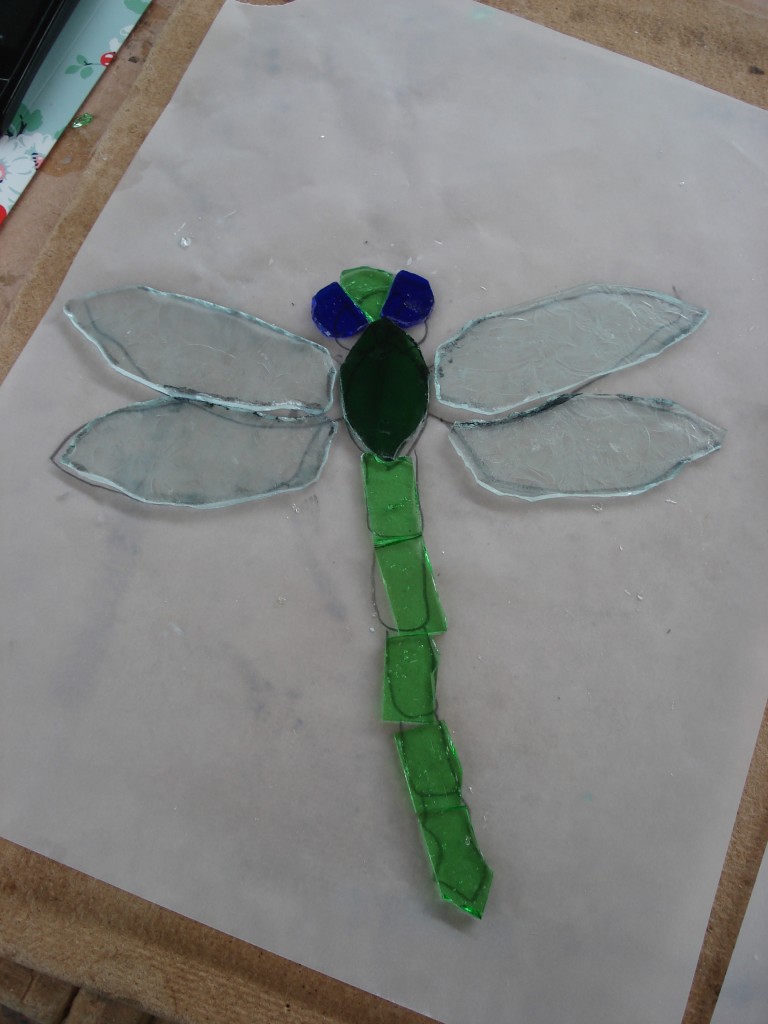
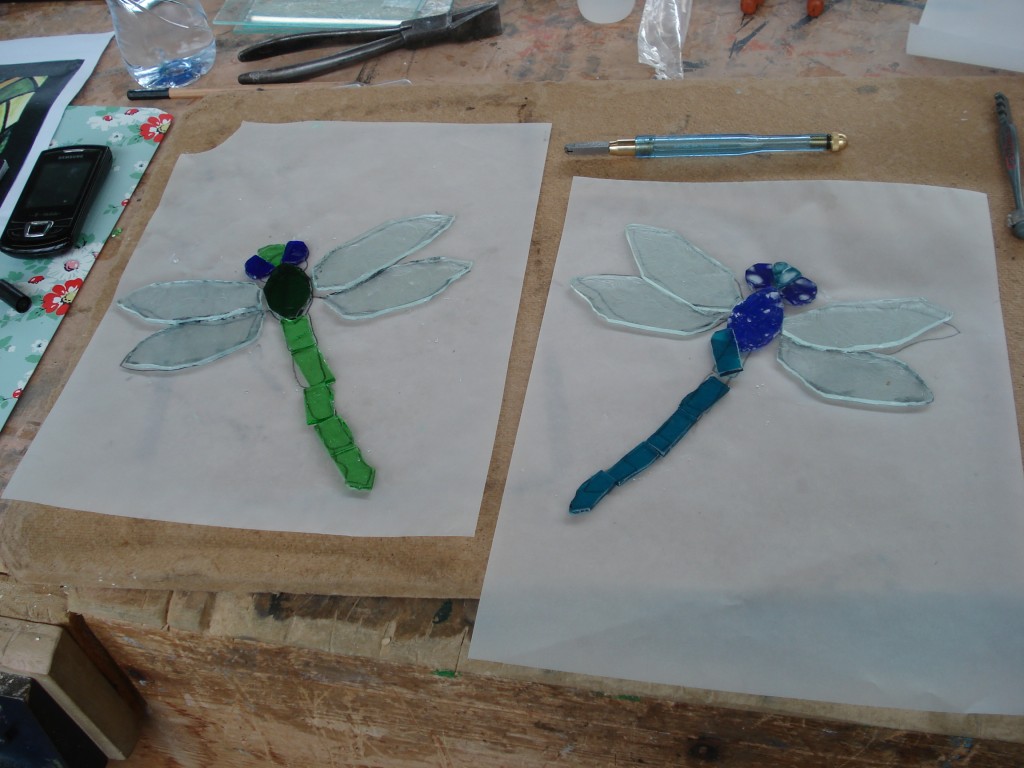
Anyway back to the dragonflies, first quite fiddly step is to cut out all the pieces. My first one was green:
And then I cut out a blue friend to join him (these were both done out of scraps left over from my last project, which is one of the benefits of copper foil, the scale however did make cutting & grinding the edges quite challenging at times though). I decided he needed a friend so chose electric blue, the colour I most associate with British native dragonflies.
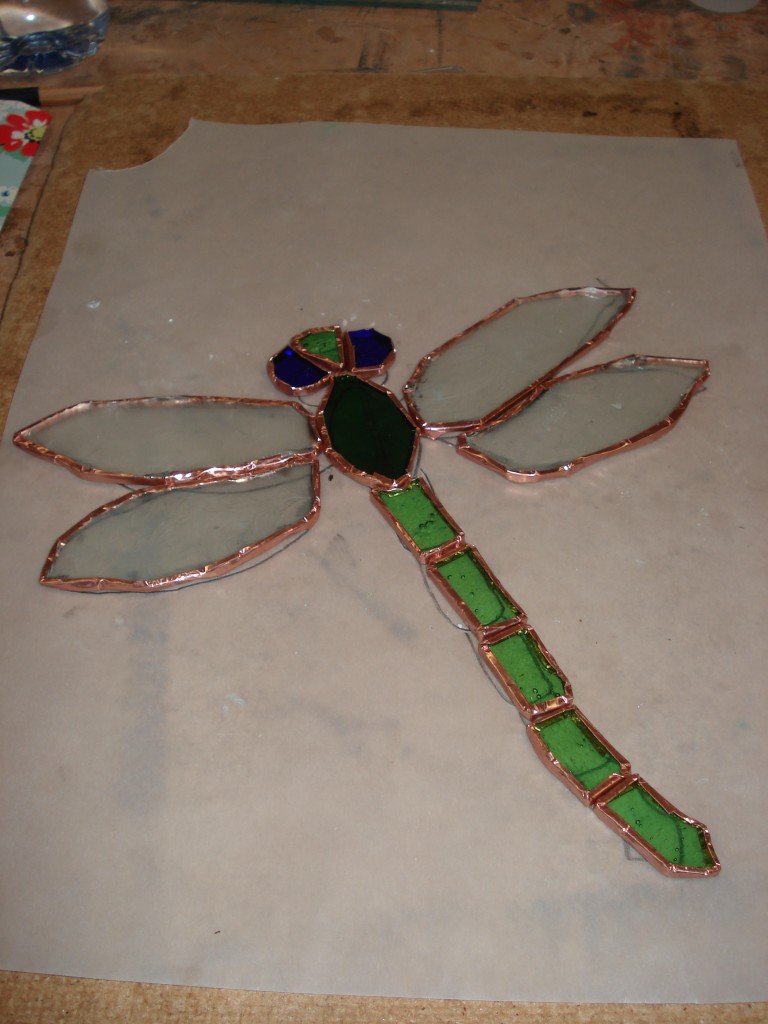
(The white bits are residue from the grinder which I later wiped off). After all the pieces were cut I moved on to the tricky business of applying the copper foil around each edge. This is tricky because you have to try and keep the glass in the centre of the foil and smooth the edges so they are level with the glass. When you’ve done it (and heaved a sigh of relief) it will look something like this:
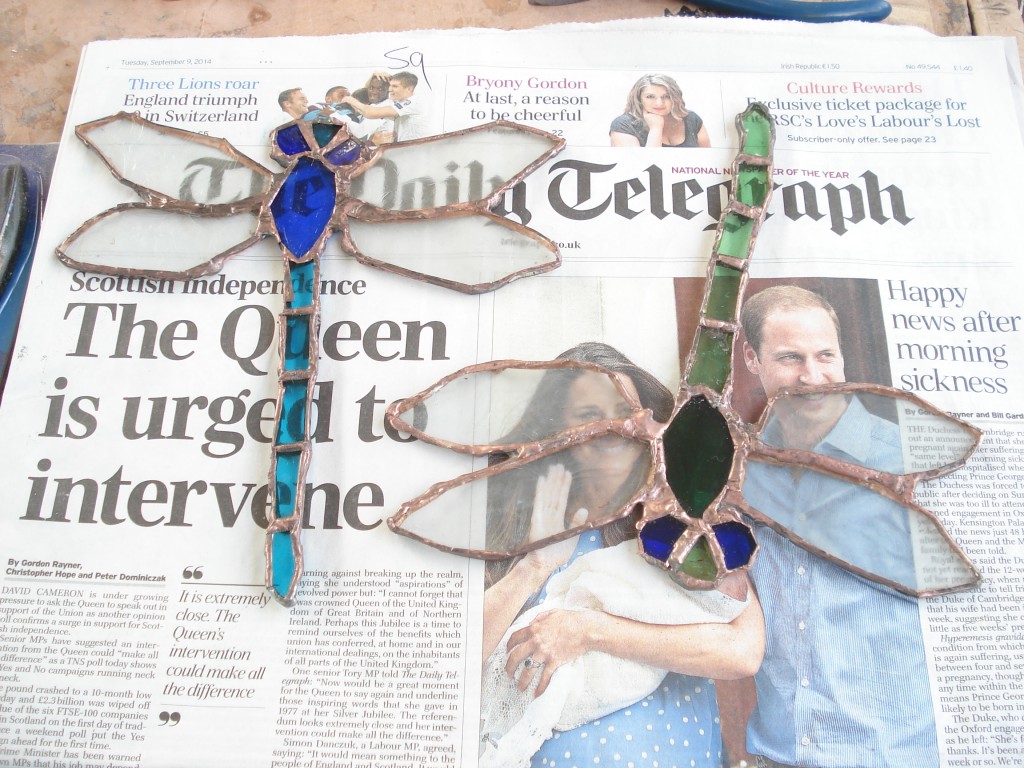
Next comes the bit I am least good at, the soldering. It was quite challenging on these suncatchers as the joins particularly along the body aren’t that big so I had solder along the sides as well to add further stability. After both were soldered along all joints & round the edges and wire hooks had been attached to them so they can be hung up it was time to polish with Copper patina to turn the silver solder to a copper colour to match the foil. The full making process for these two little dragonflies took almost the full two days but I’m pretty happy with the results:
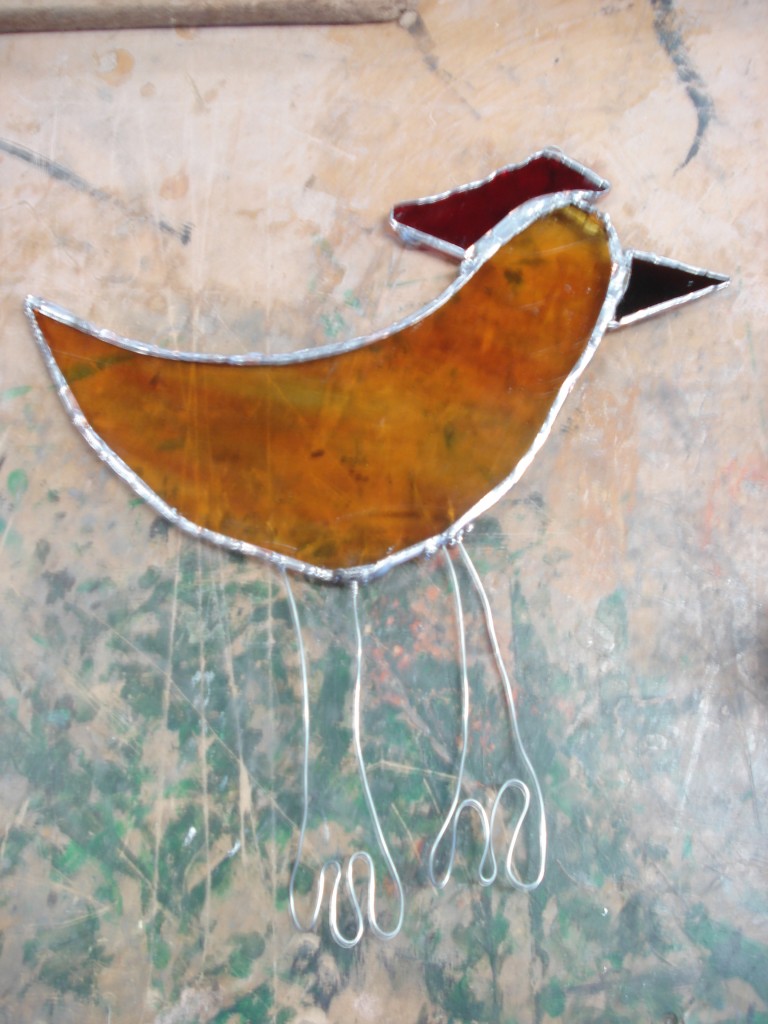
(The Daily telegraph being used for wrapping only definitely not my choice of paper). So those were my major pieces but I did have a little time to play around with some other shapes, I give you chicken:
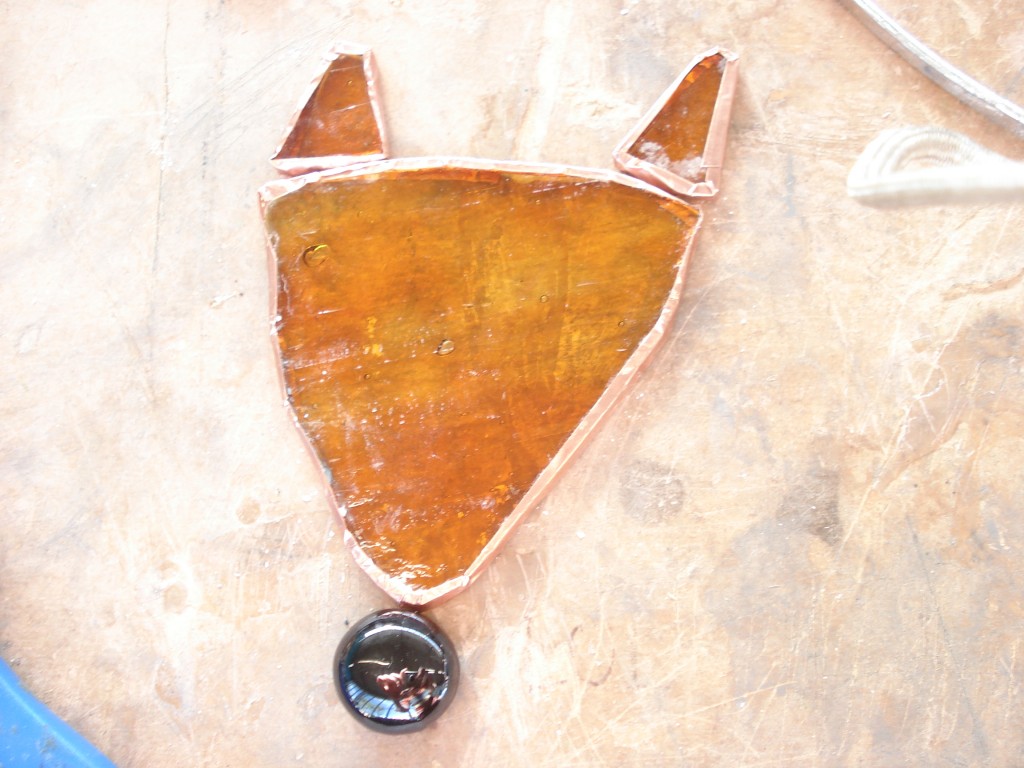
(She still needs an eye painting on). And a not quite completed fox:
(He’s waiting for some white to go under his chin). Playing around with the technique of copper foiling has given me a much better idea of what good designs consist of & what is tricky to do which is a very good thing as I have a Christmas copper foil workshop in a couple of weeks (I bought some glass for that in preparation and also some glass for the beginnings of the mermaid mirror). The rest of the class also finished their designs.
Giving them a final polish
Thank you Sarah for another fantastic weekend filled with glass, really looking forward to my next class, in the meantime I’ve got quite a lot of this to do:
