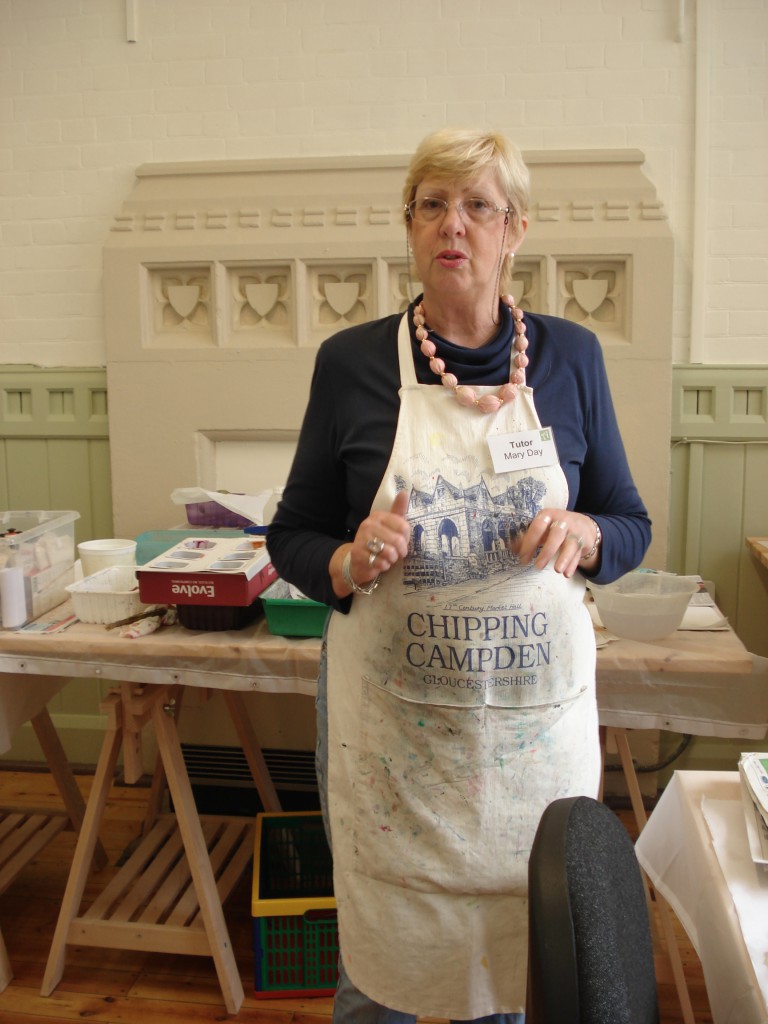
I was there to learn about marbling on fabric (I took cotton & silk but the cotton didn’t come out that well (I think it was too thick) so in this post it will be just my silk creations on show). The course was taken my Silk expert Mary Day, seen here looking very fetching in front of one of the Ardington fireplaces. You can also find her website here
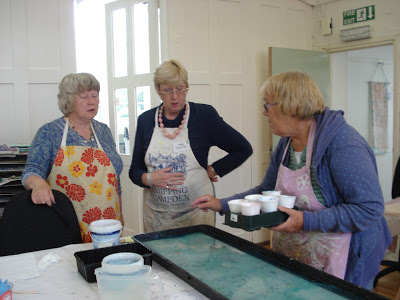
We started off with Mary showing us how to set up the marbling tray, then the different ways of dropping the paint onto the surface (you can either drop it using twigs or with a little dropper).
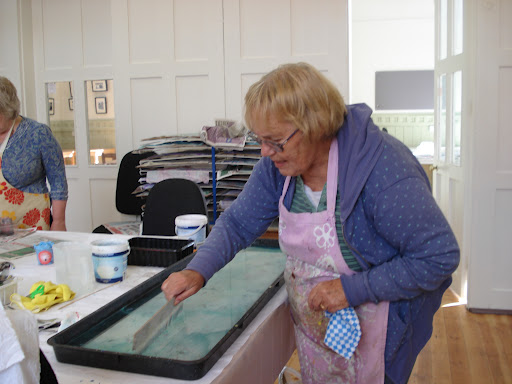
(My partner for the day top pic adding the paint with a bundle of twigs and below cleaning out our tray). Once you’ve printed your material you have to remove the excess paint left behind so you can add new colours for your next print. The scarf pictured below was done by one of the other students using the dropper method.
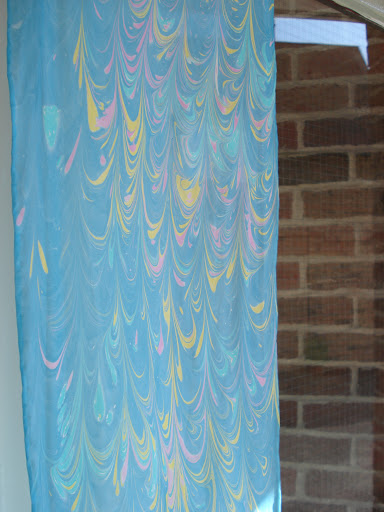
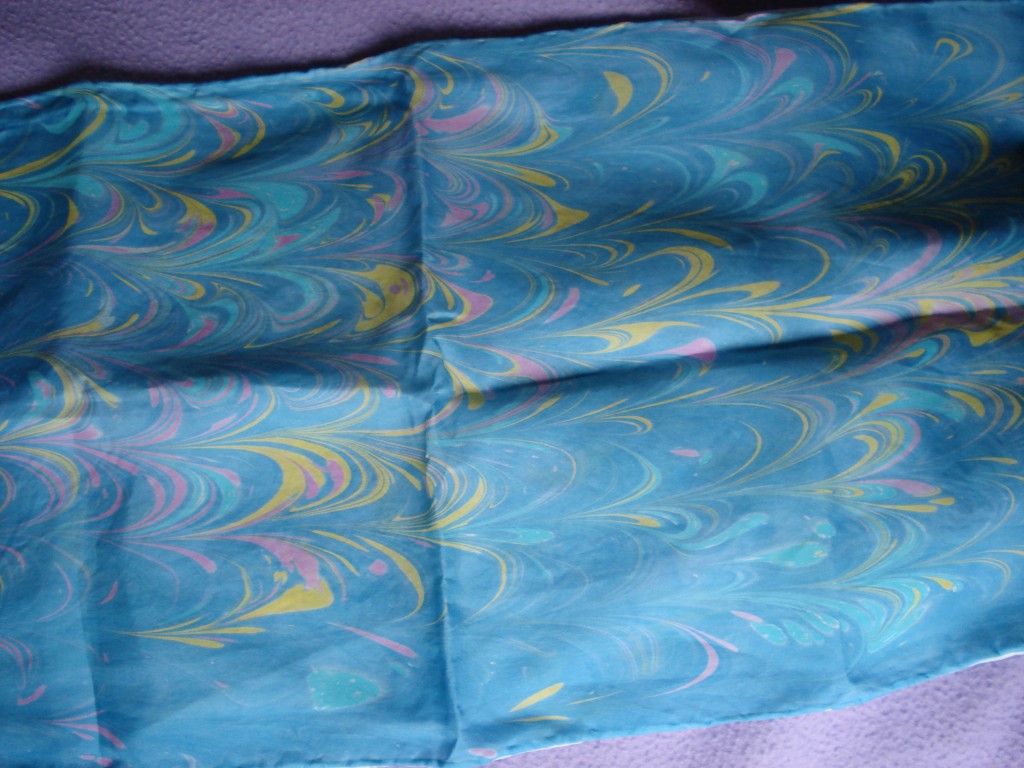
The properties of the paints were then explained. If a colour spreads out quickly its referred to as ‘fast’ if it doesn’t spread out at all, its ‘slow’ & may need thinning (if its too slow it will just sink). Mary also showed us how to comb the colours to get the amazing effect below (which is one of my finished scarves).
 Mary also showed us how to use the stylus (old knitting needle) to drag the paint into different patterns. Here is my interpretation of the heart
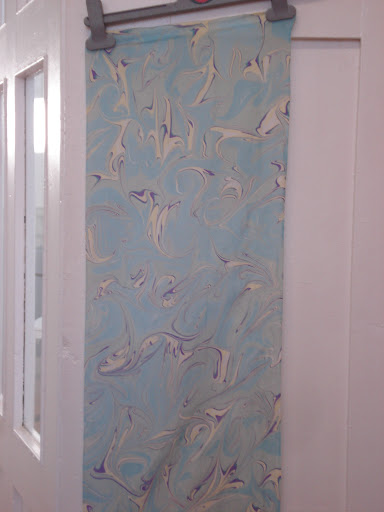
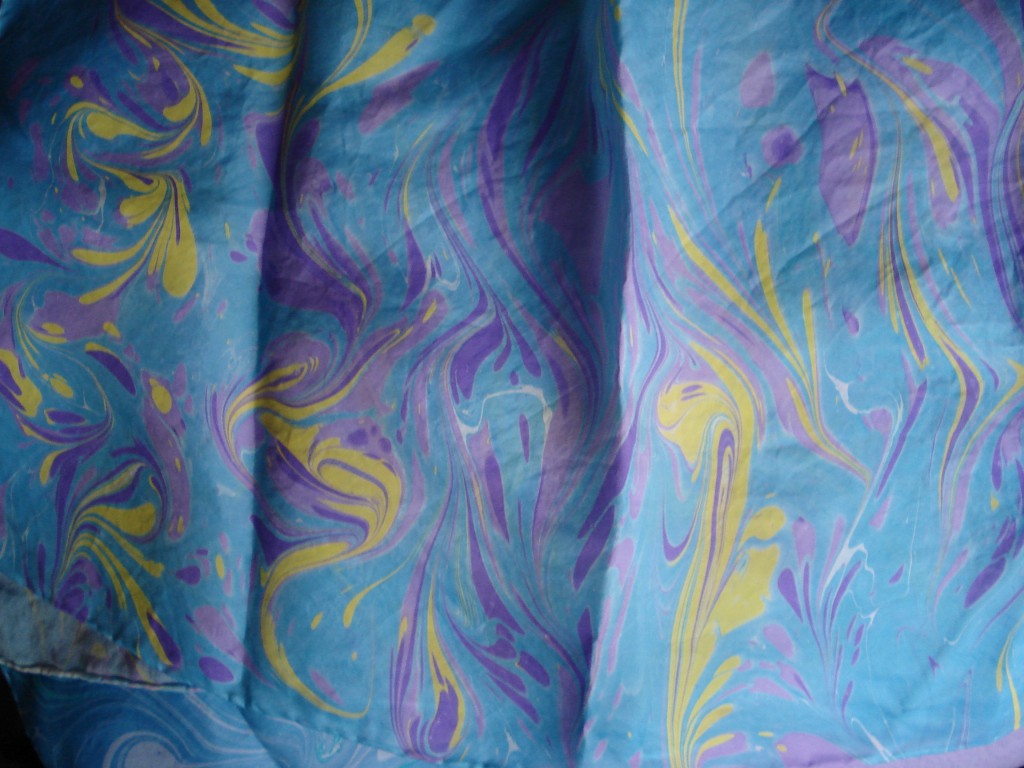
 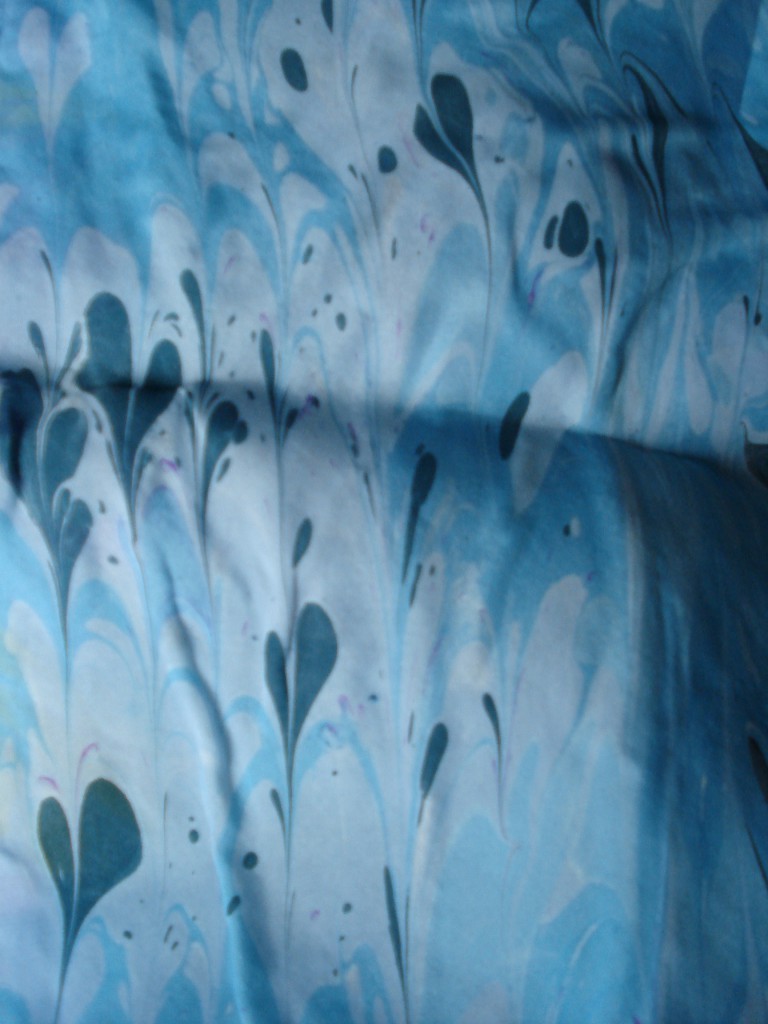 and my freestyle, mad colour efforts
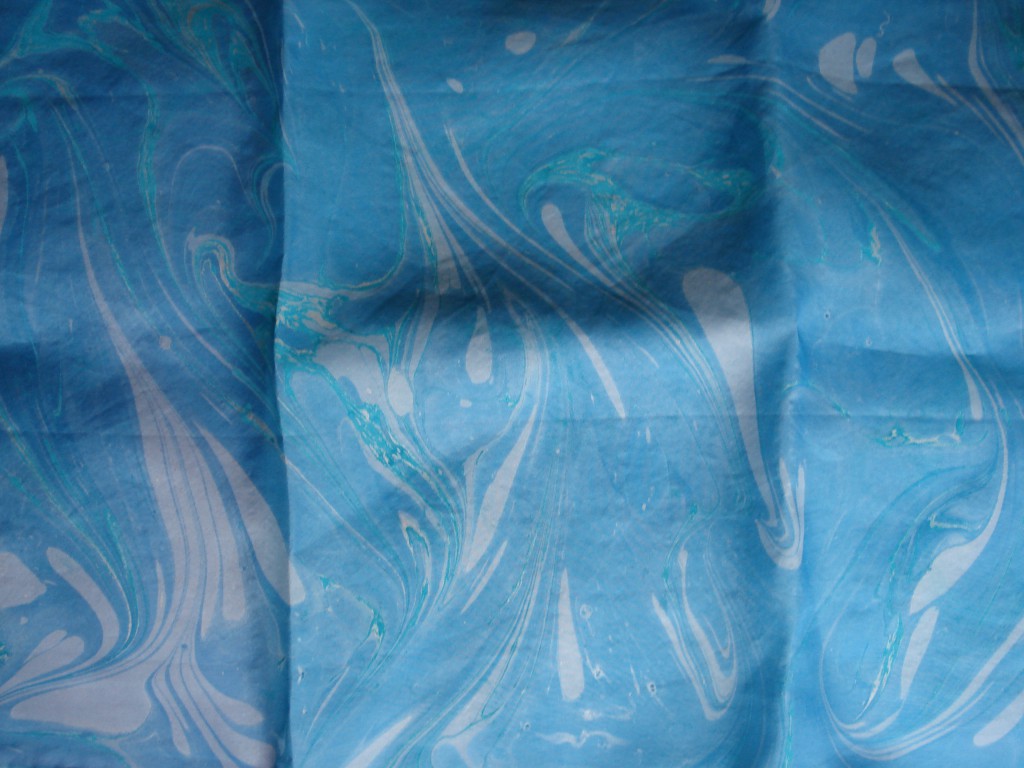
 I also did one with teardrop type shapes utalising all the different blues I’d made (below). The course was absolutely brilliant.
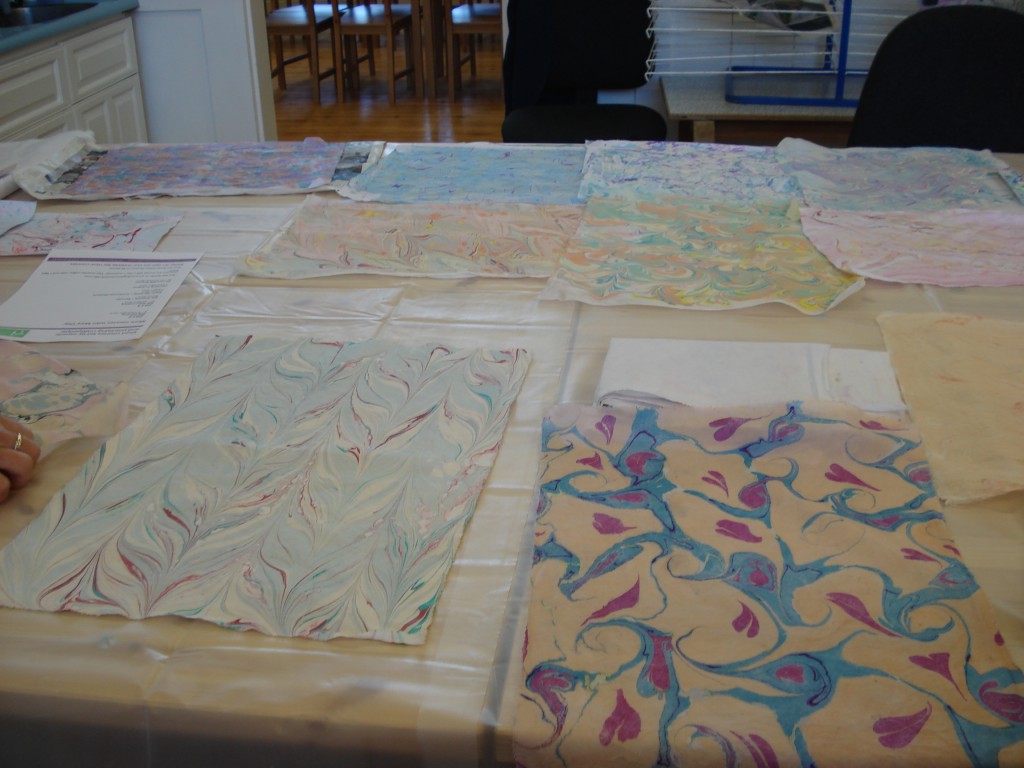
 Mary was a fantastic teacher & I learnt a lot (as did the other students, examples of their work below). The actual marbling itself was really relaxing (I could have played with the colours for an entire week, sadly the course ended & I ran out of fabric) but I’ll be looking into buying myself a tray and some fabric as soon as out current house trauma (our heating is being replaced) is over.
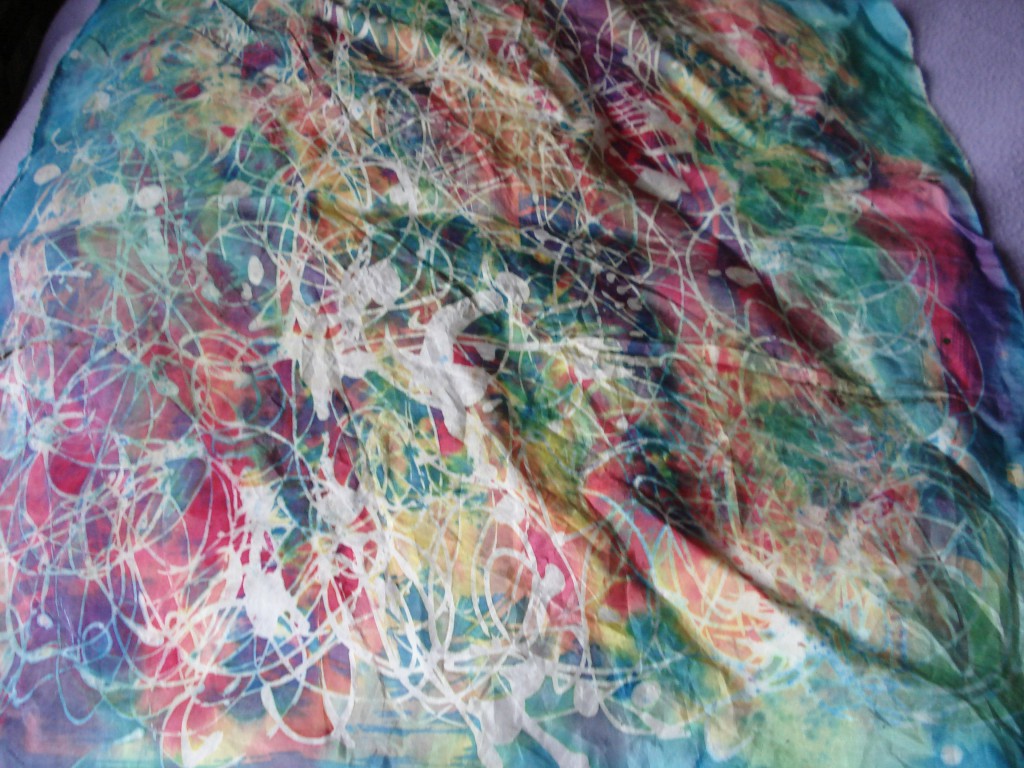
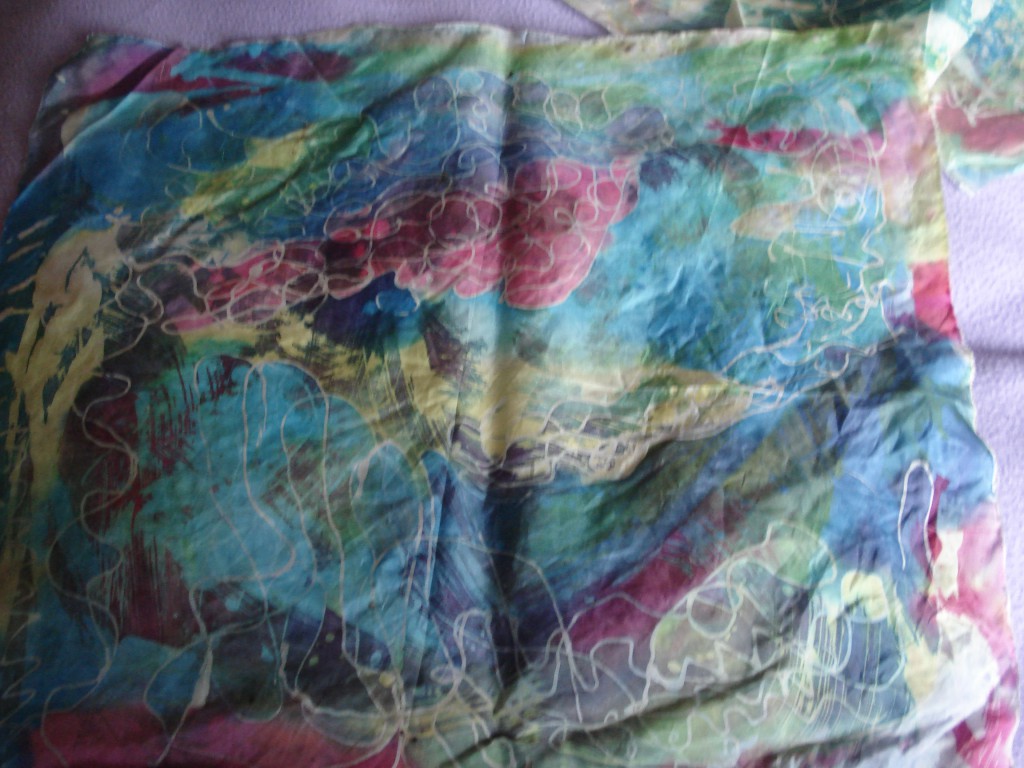
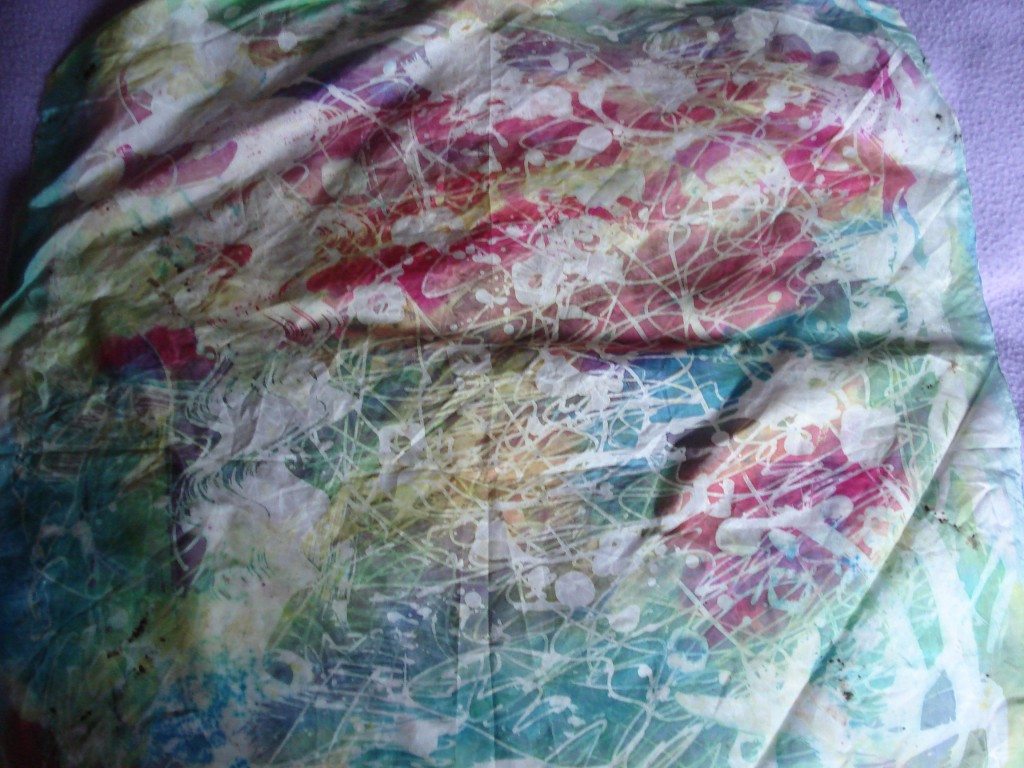
While looking for material in my stash I also came across these examples of Batique from a course I did in Cirencester quite a few years ago. I’ve always loved working with fabric & I should have an exciting announcement on that score very soon! But for now enjoy the colours.
